Review: Nauticam Electronic Vacuum Check and Leak Detection System
Nauticam’s new Vacuum Check System makes its first dives
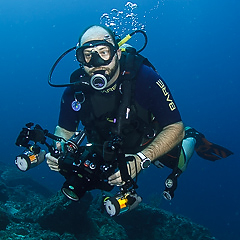
I must admit that I wasn’t convinced by all the talk recently about vacuum systems. I was pretty happy with the status quo and have never flooded a housing; well, not severely anyway. I told myself that if I was careful I’d be OK. Proper care and detailed preparation have worked for a very long time. Then I started to see some things that made me very uncomfortable. While in Lembeh during June, I watched a brand new 5D MK III come back to the resort in the rinse tank with its just-out-of-the-box 100 mm lens used as a prop for octopus photos. The main O-ring had been improperly installed and the new housing filled so fast that by the time the moisture alarm was sounding, the housing was completely flooded. Watching a friend fly halfway around the world only to flood his camera on the first dive is not something I ever want to see again. The Lembeh Resort folks moved heaven and earth to get a new camera and lens delivered from Manado, and their guest miraculously only lost one day of shooting (and $4,500 USD). During the next try with the new camera, the housing had a small trickle during the first leak check in the rinse tank but he was able to dry it out. This experience and a few others from friends on Wetpixel got me to wondering about the new Nauticam vacuum system I had heard rumors about.
How it Works
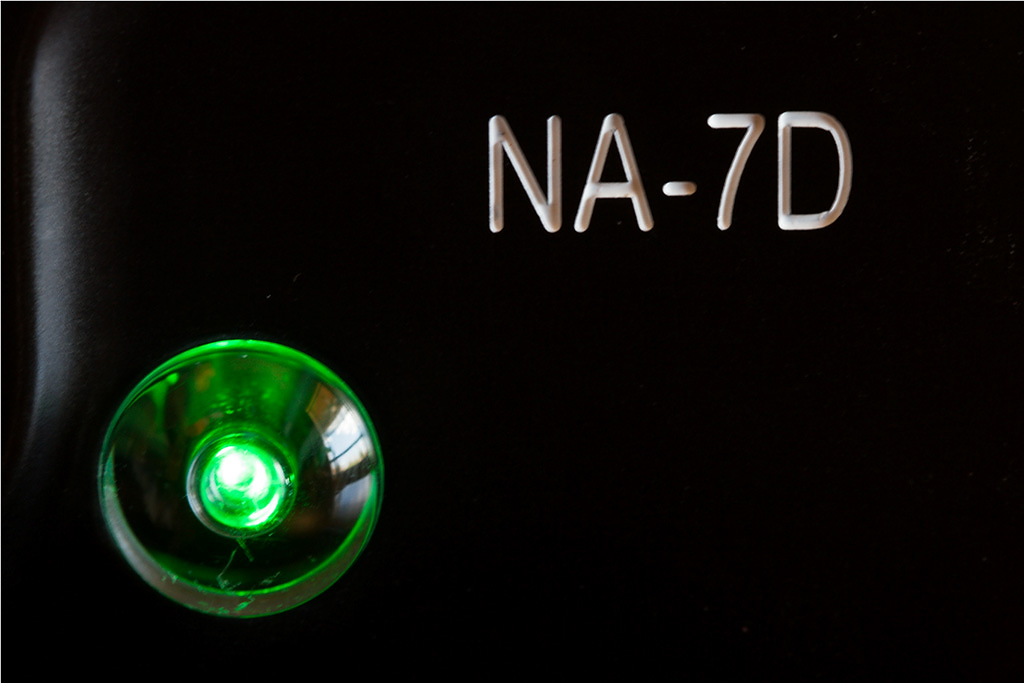
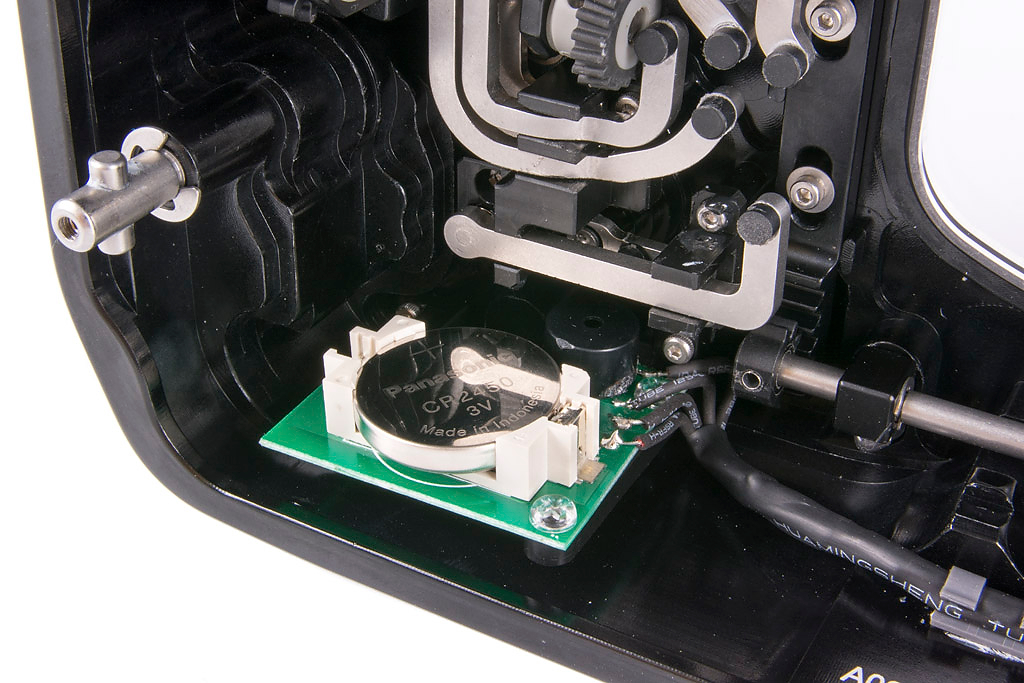
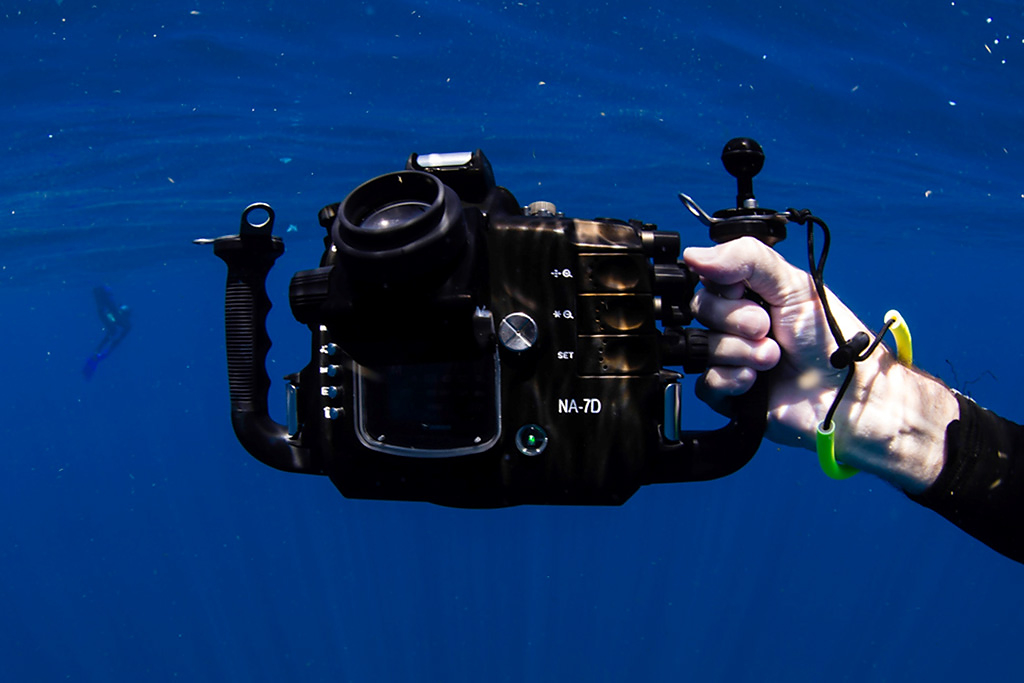
The Wetpixel Whale Shark trip to Isla Mujeres seemed like a great opportunity to try out the new system. Nauticam USA had just received the first prototype circuit card when I called and they were able to install the new board and valve in less than a day so I’d have a chance to use it on the trip. The new Nauticam vacuum/moisture system is fully integrated into their housings, and the new circuit board takes the place of the old moisture alarm board. All new Nauticam DSLR housings will ship with the new vacuum system installed as standard equipment. The new board can also be retrofitted onto existing housings like my NA-7D. The system uses three new LED colors in a new indicator, which replaces the existing red moisture indicator.
- Blue display – system on and operational, battery test OK.
- Green solid display – housing vacuum OK.
- Yellow blinking – partial vacuum (2 different blink rates).
- Red blinking display – ambient pressure, aka vacuum lost.
- Red solid and sound alarm – moisture is present.
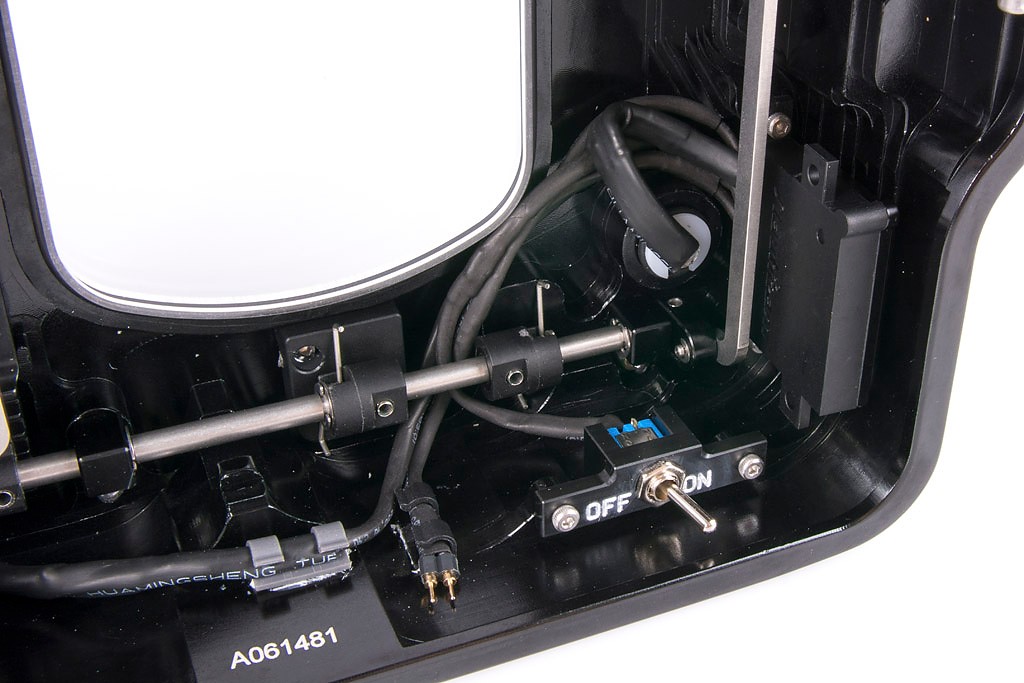
In practice, you flip a small switch internal to the housing to power on the system, getting a blue light. When power is switched on, an ambient pressure and temperature calibration occurs, and the battery voltage is confirmed. Close and latch the housing and pump it down. In ten to fifteen pumps, the light goes from flashing red, to flashing yellow, to solid green in less than 5 seconds or so. The green light lets you know the housing is holding a lower pressure and is ready to go. The circuit is temperature compensated so it’s possible to pull a vacuum in your air conditioned room or the camera room on the boat and go outside into the tropical sun and not get a false alarm from the vacuum decreasing as the housing warms up. This can be especially important with cameras like the RED Epic or Canon DSLRs shooting video where the internal housing temperature can be pretty warm.
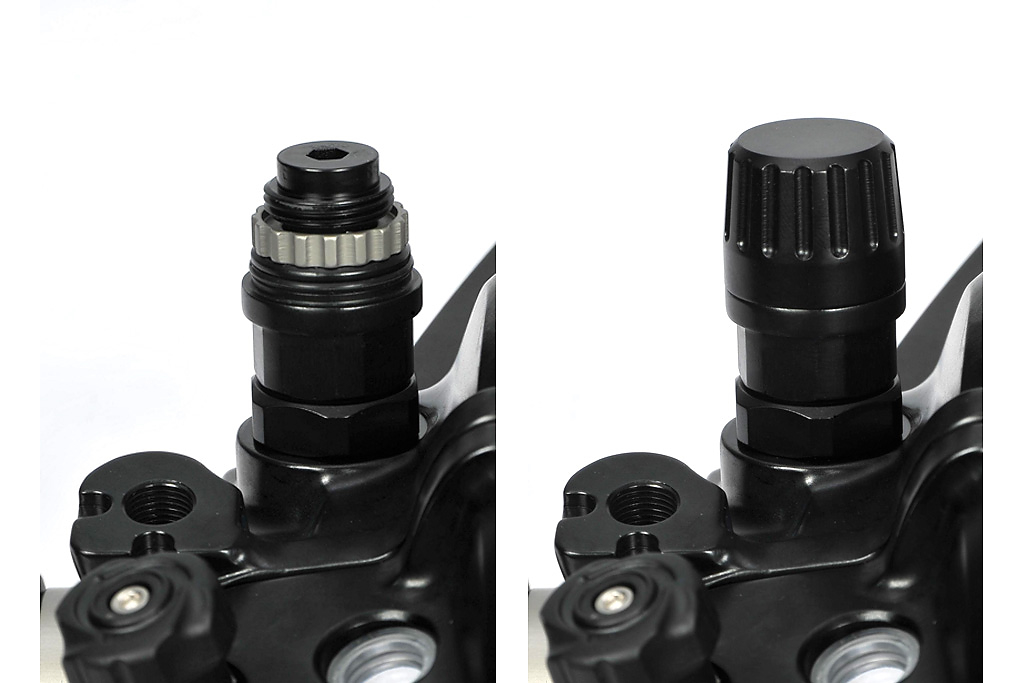
The new valve is elegantly engineered with some features you don’t expect. You turn a knurled ring by hand to open and close the valve; no tools are required. It’s very convenient not to have to dig out a specific tool when you want to release the vacuum to change out a memory card.
Nauticam is rolling out six different valve options depending on your needs. A new “dual activation” valve can be pumped down or can pull a vacuum on your system using the venturi effect by means of tank air and the low-pressure inflator hose from your BCD. I’m guessing folks with big housings like the RED unit will find this very useful. They are also making a new “sidemount” valve available, which allows both an electrical connector and vacuum valve to be installed in the same threaded hole, useful in many Nikon housings that have only a single accessory bulkhead port. I have not tested the BCD inflator valve so I look forward to comments once it gets out in the field.
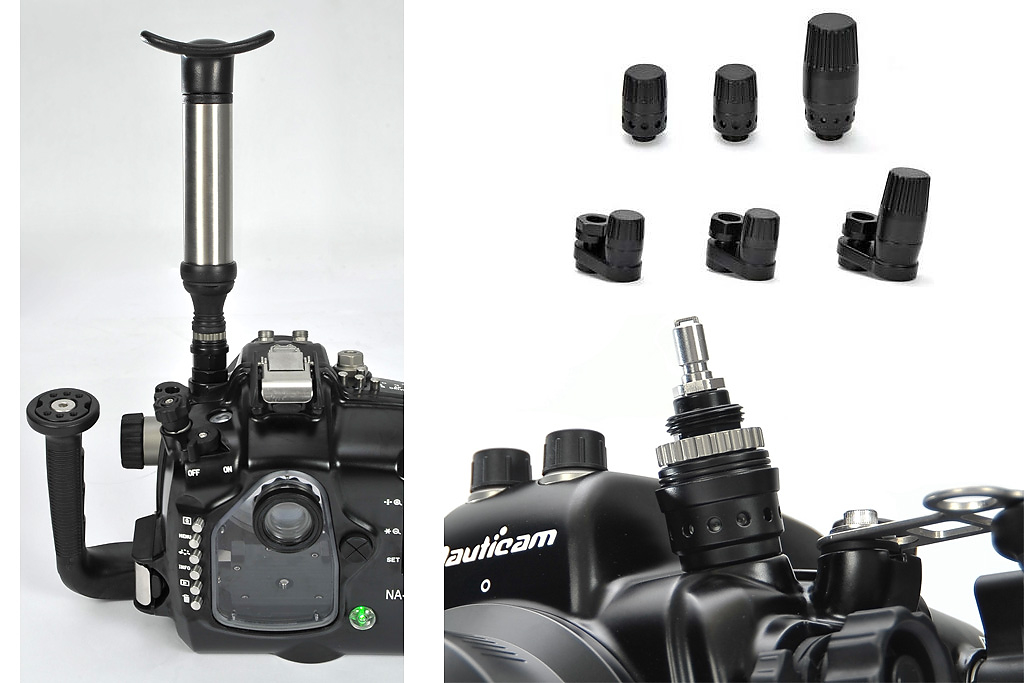
The simple hand-operated pump is inexpensive, reliable and fast. I laughed at its simplicity when I first saw it, but after using it just a few times the benefits are obvious. It’s easy to replace and it fits directly and simply on the valve. No hose or pressure gauge is needed as the system LEDs let you know when you have evacuated the housing to the required pressure. In practice, I never needed more than twelve pumps to pull my 7D housing down to the green condition, less than six seconds. The new pump with a molded-on nozzle attaches directly to the valve and allows one-hand operation. I found it easy to use even on a rocking boat.
Surprising benefits
I thought I understood the main reason for using a vacuum system on my housing. Put simply, it allows us to make certain our housing will not leak before jumping in the ocean. This, in itself, is a huge boon to underwater photographers. But in actual operation I learned that there are some added advantages of using a vacuum system that I had not expected.
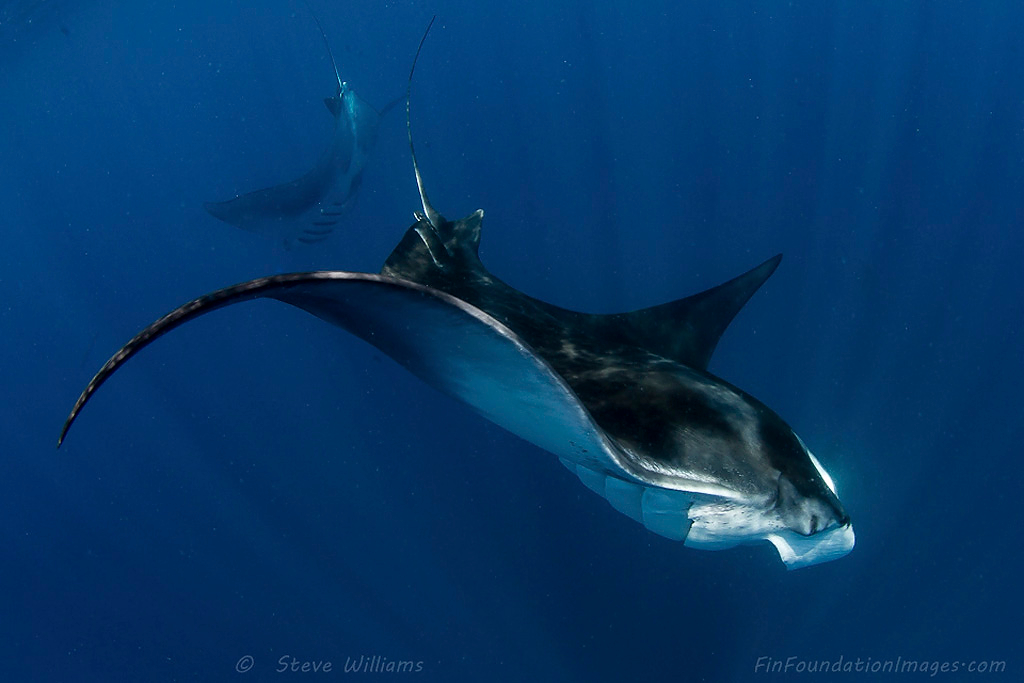
On the fourth day of the Wetpixel whale shark trip, for example, we came upon an amazing display of the natural world. Twenty miles off-shore, on a bright clear Caribbean morning, in an absolutely flat sea, over a hundred whale sharks were feeding in a tightly packed area with more than thirty mantas dancing among them. We were the first boat there and had the astonishing show all to ourselves. In the most amazing two hours I have ever spent in the ocean, I made over 500 images. When the action cooled off I realized I only had room on my 16GB card for 100 more images for the whole rest of the day. Should I risk taking the housing apart and changing the card in the forepeak of the small boat? Should I try to stretch the card and be much more selective with the remaining images? I wouldn’t normally open the housing on a small boat. It’s too easy to get in a hurry and make an expensive mistake. Without the vacuum system I wouldn’t have risked the swap. With the green light to reassure me, I decided I could reload with extreme confidence and get back into the action that was happening all around the boat. Later that afternoon, most of the whale sharks went deep and we were surrounded by more than fifty mantas feeding in an area less than the size of a football field. I counted eight of these wondrous creatures loop feeding with their white undersides flashing in the sun. Because of the vacuum system, I had a fresh empty card and an ocean full of opportunities.
Shooting whale sharks in the Isla Mujeres aggregation can feel a little like playing bumper cars with big inflatable school buses. They can come from any direction, and you better have your head on a constant swivel to avoid touching them or worse being run over. They are so thick at times that they can bump into each other and some impressive thrashing is the result. I was in the wrong place one morning and got tail-thumped pretty good when two whale sharks tried to occupy the same space, but the housing dome took the brunt of it. I was fortunate to look down and see that happy green light glowing its signal to keep shooting.
I found the confidence gained by adding a fully integrated active system makes it quite a bit more powerful for me than a manual only system. I was not prepared for nor did I expect how much I would come to enjoy seeing that green light while in the water. On a recent trip to San Carlos, Mexico, we tested the unit without the battery installed, simulating how we might operate if for some reason the electronics or battery failed. It’s possible to pump down the system, leave it for a few minutes or even over night, then open the latches and see if the vacuum is still holding. The housing will not come apart and you can shake the rig to be sure it’s sealed and not going to leak. This would work in a pinch and is almost the equivalent of diving with a manual gauged system, but you lose the constant reassurance from the light that all is well, which I found surprisingly addictive. I also love the fact that I don’t have to worry any more about accidentally opening my older type non-safety latches. With a lower internal pressure I could open them all and the housing will stay sealed.
When you adjust your housing setup routine, that green light can come to mean more than a vacuum is present. My habit has always been to come back to the boat or the camera room after a day of diving, open the housing to swap out the battery and card, and set the camera up for the next day’s diving. I always attempt to do this before any boat drinks or cervezas can negatively affect my camera’s life expectancy. It was simple to add pumping down the housing to that ritual. Now the little green light means I’m locked, loaded, pumped and ready to go diving.
In the Sea of Cortez last month, we got in the habit of leaving the system on all night and had the pleasure of waking up to a solid green light assuring us that we could head to the boat knowing we had put the system together safely. I left the prototype system on for three weeks solid after using the system for a week in Mexico to check the battery life. I finally got bored and turned it off. I’m confident we will get at least a month of use out of the battery with normal usage.
I asked my son Jeff to use the system for a few dives in the Sea of Cortez. His education is in marketing and sales, and he sees the world and camera equipment differently than his engineer father, so I thought it would be interesting to get his impressions. Jeff is also a past PADI instructor with 10 years of underwater photography experience and had the benefit of shooting film before switching to digital. His overriding first impression was that the system freed him up to focus even more on the art of photography. I hadn’t appreciated that all the time, effort and brain function we spend making sure the camera is dry and worrying that it might not be, even subconsciously, is now freed up to do art. It allows us to do what we love in a much less threatening environment. The freedom that a system like this brings with it may be the most powerful reason to consider an upgrade.
Nauticam Purchase Options
The system is included as standard equipment with NA-70D. All previously released housing models, will include the standard leak sensor, but can be upgraded to the vacuum system by their service center. The new owner will need to purchase the correct valve as optional equipment if they want to use the vacuum capability, with prices (including labor) starting at $200 USD. Each valve includes a hand pump and installation spanner tool.
Retrofit vacuum detection/moisture alarm circuit board and four-color LED/battery/switch kits will be available for around $200 USD, and I’d recommend the installation be done by your local service center. I’d highly advocate contacting your local Nauticam dealer to get the latest updates on prices and availability for your area.
FTTC disclaimer: Steve was provided the use of a prototype Nauticam vacuum system for testing purposes that resulted in this review.
About the authors