Tutorial: Lightroom Field Workflow
Adobe’s Lightroom is a tool that is used by many photographers worldwide. It is designed to be a complete workflow, from ingesting images from a camera’s card, sorting, developing and then ultimately publishing them. Inevitably, most of us tend to focus on the developing (fun) part of the app, and some of its other powerful functions are somewhat neglected.
One of the drawbacks of digital imaging is that we very rapidly generate large numbers of video and/or image files. While hard drive space is relatively inexpensive, unless we organize these files in some kind of systematic way, it will make it very difficult or impossible to find specific files when we need to. There is no point in spending huge sums of money on photographic gear and travel, if we find that we cannot physically find the images we generate. At the very least, this means we cannot enjoy them.
I am going to describe how I manage my image catalog, but it is very important to recognize that this is my system and it works for me. It may not work for everyone and if you have a system that is working well, the system as described may not work any better. What is absolutely critical is that you utilize some kind of systematic process to ingest and catalog your imagery. If you don’t do so yet, the sooner you go about setting this up, the easier it will be to do.
My physical set up at home is as follows: I have a Mac Pro desktop, which has a large internal software RAID drive, along with several other drives that hold the system and Lightroom catalogs. In addition, I have several large capacity hardware RAID drives attached to the desktop for backups.
All my imagery is stored on the internal RAID drive (and backed up on the backup drives). I have one main Lightroom catalog, unimaginatively named “MAIN” on the Mac Pro, and this contains all my image files.
The One Catalog to Rule them All
With apologies to my friend and Lightroom guru Erin Quigley for stealing her catchphrase!
Why do I have all my images in one big catalog? Bluntly I simply cannot track where images are unless I can actually browse through them. By having everything in one catalog, I can scroll, or (perhaps more pertinently) use Lightroom’s powerful keyword and metadata search functions to locate images.
Lightroom’s search tools will only search in an open catalog. So no matter how diligent you are about folder structures, keywords and file naming conventions, if you have multiple catalogs and are in the “wrong” one, Lightroom will not be able to find your images. Having one “MAIN” catalog mean that you can search and browse your entire image library at will.
Many people express concern about the sizes of the Lightroom image catalogs and question whether big catalogs will affect performance. There are documented cases of catalogs with over 6 million images, with no performance issues. Performance issues with Lightroom are almost always to do with hardware or system configurations, rather than the actual number of images in a catalog. Bear in mind that Lightroom does not physically store your images, it simply knows where they are on your hard drive(s). In essence, it is a database and databases regularly track huge amounts of data.
That said, catalog corruption can occur, and it is wise to religiously back up your catalog. There is an option to do so when you quit Lightroom, which I would strongly recommend you enable (it is in Catalog settings). If you do so, its is wise to save the catalog back up to an alternate drive. Bear in mind that this saves your edits, keywords, star ratings and rankings. It does not back up your images themselves, and you need a different strategy to ensure that these are not lost in the event of drive failure.
Folder structure and file naming
It is important to develop a consistent approach to folder structure and file naming. Failing to do so will result in it being much harder to combine catalogs and potentially to find images.
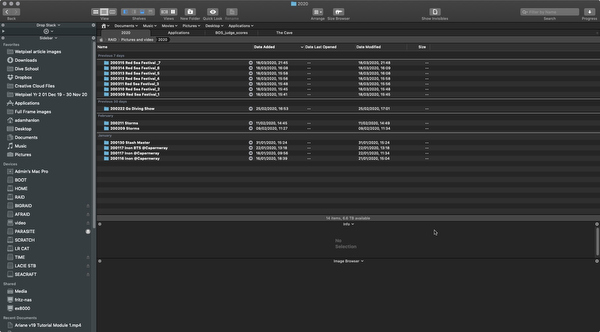
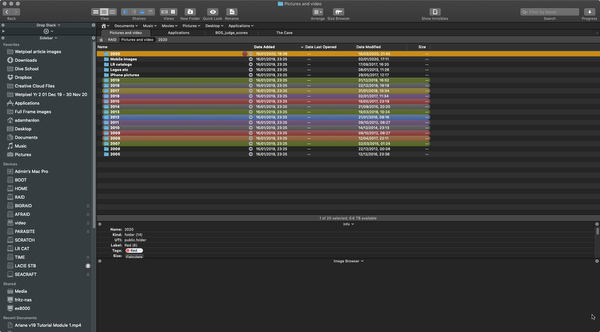
My folder structure is as follows: Each year I create a year folder, simply (this year) called 2020.
My folder naming structure is: Date reversed (YYMMDD)_ shoot or assignment _ day number.
For example, this looks like:
200403_raja_1
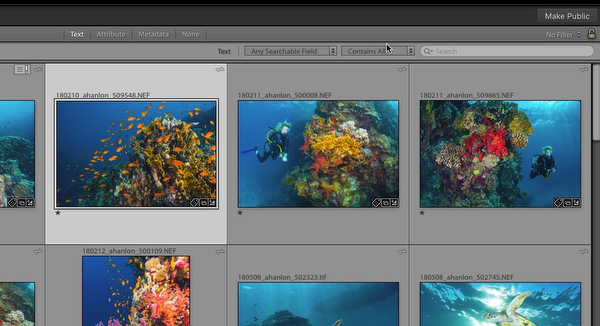
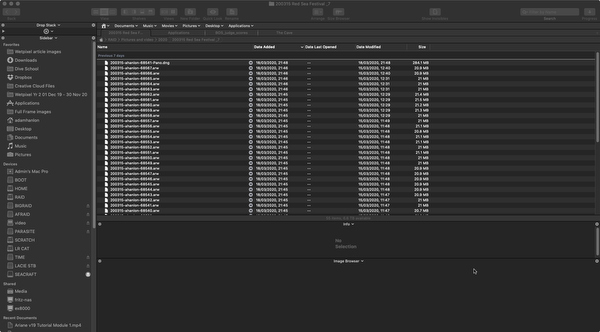
Individual files are named by date reversed (YYMMDD) _ text _ camera assigned file number . file type
Again as an example, this looks like:
200403_ahanlon_8868.NEF
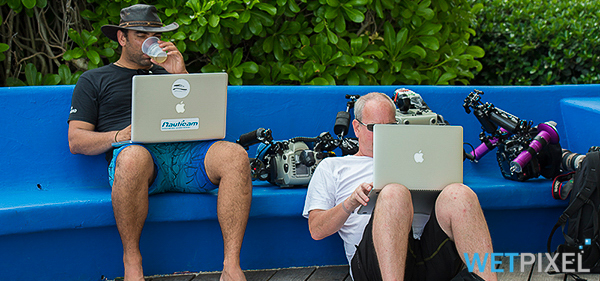
In the Field
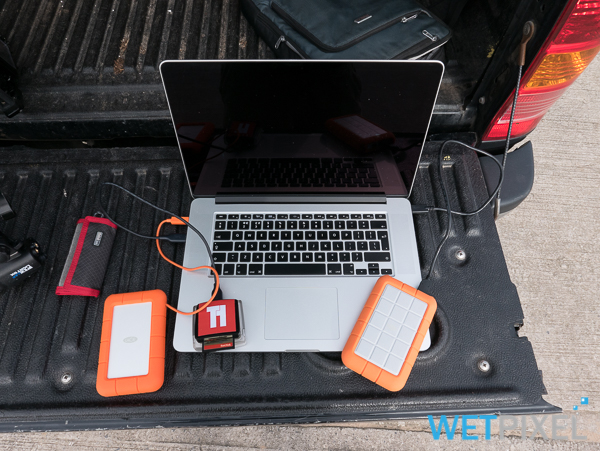
In the field, I currently use a 15” MacBook Pro laptop. It has a 1TB internal drive, so I use external drives to store imagery and Lightroom catalogs in the field. I typically use two Thunderbolt drives, one acting as a primary, and the other as a backup. I have added some strips of heavy-duty self-adhesive velcro to the lid of the computer and the drives, which allows me to semi-permanently attached them for ease of use.
The portable hard drives are also set up to mirror the folder structure of the main image drives on my home computer as outlined above. Please note that this does not mean that they contain all the images that are held on my main catalog, but their structures are the same, which allows me to seamlessly sync from the portable drives to the main ones. More on why this is necessary in a minute….
Before a trip or assignment, I gather together all my gear, and update all the apps on my laptop, along with checking and formatting my portable drives. I am currently using 5TB (primary) and 2TB (backup) Lacie Rugged drives. I will open up Lightroom on my laptop and create a new catalog (File-new catalog). The dialog will prompt me for a name to save my new catalog as. I use a name that describes the event and has some kind of date. In general, try not to leave spaces in any filenames, by using either a hyphen or an underscore. So if my trip is to Raja Ampat in April this year, my catalog name will be something like raja_ampat_04-20.
The dialog will also ask where the catalog should be created, and this is important. It needs to be created on the portable drive, not on the laptop’s internal drive. I tend to create a new folder (called Lightroom catalog or similar) on the external drive to contain the catalog and the other working files that Lightroom will itself create. This keeps it separate from the image files on the drives.
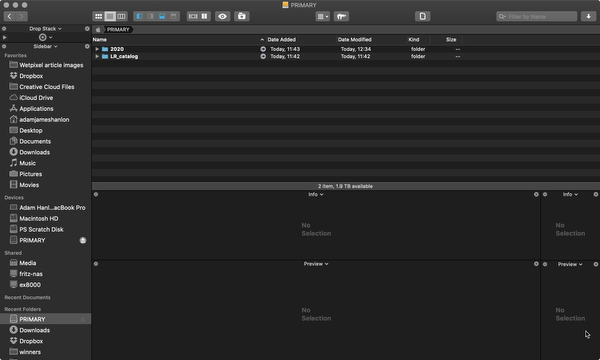
At the same time, on the portable hard drive, I will create a year folder (so in this instance, 2020). This will need to be created via Windows Explorer/Finder.
Import Workflow
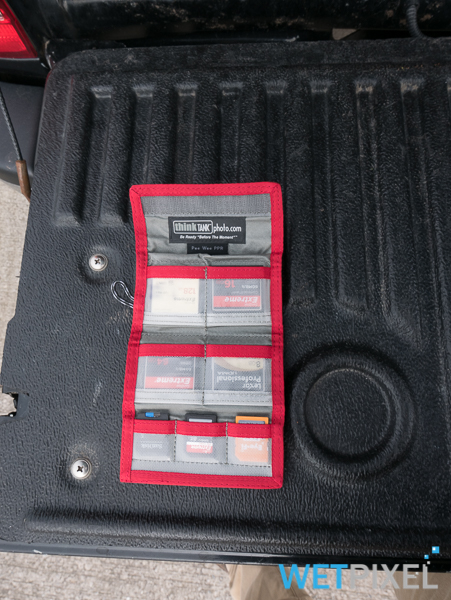
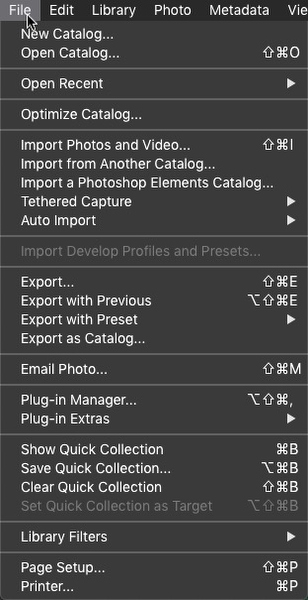
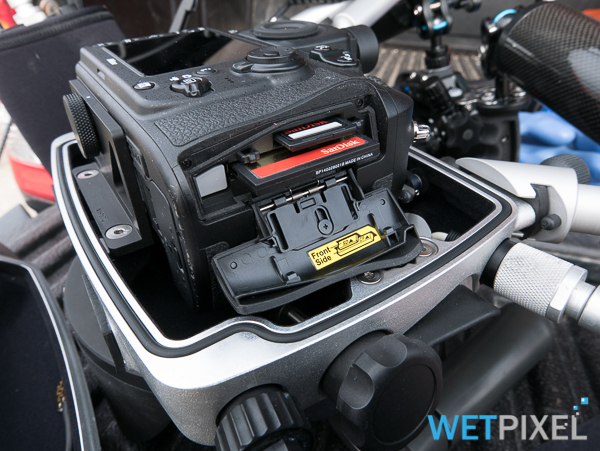
After my first shoot, I will insert the memory card into the card reader and open up the Import Dialog (File-Import Photos and Video or Cmd/Ctrl-shift-i) in Lightroom. This will show the memory card on the left-hand panel, and the images will populate the center of the window.
On the right, the panel has a number of options that need our attention.
- In the Build Previews window, I select the “sidecar and embedded” option. This imports the files at maximum speed and allows sufficient details to allow for a first pass cull. Lightroom still transfers your RAW file (assuming you were shooting in RAW) and this is available via the Lupe, Develop or Full-Screen modes.
- In the File Renaming panel, I rename my files. This is primarily to avoid the possibility of two files having the same name. I have created a template that follows the naming convention above (200403_raja_ampat_8868.NEF). If you use a “custom text” element in your template, Lightroom will add a Custom Text box to add your text (in this case it would be raja_ampat)
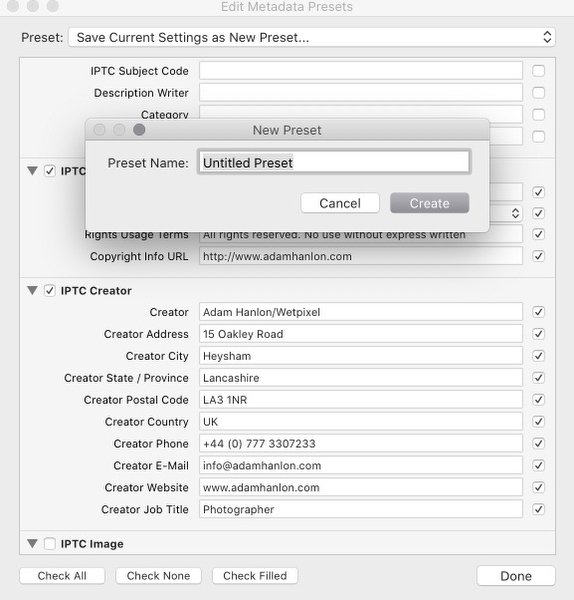
- Apply during Import: In the Metadata, I create a preset. I will add copyright and creator information, but perhaps most critically, I will add keywords. These need to be keywords that will apply to all images, so for example may include the name of the trip and the geographic location.
- In the Keywords box, I add keywords specific to the images that I am importing. This can include whether the images are underwater or on the surface if they are video files, the dive site or other specific geographic information, and underwater camera gear (housing, strobes, wet lenses, etc.)
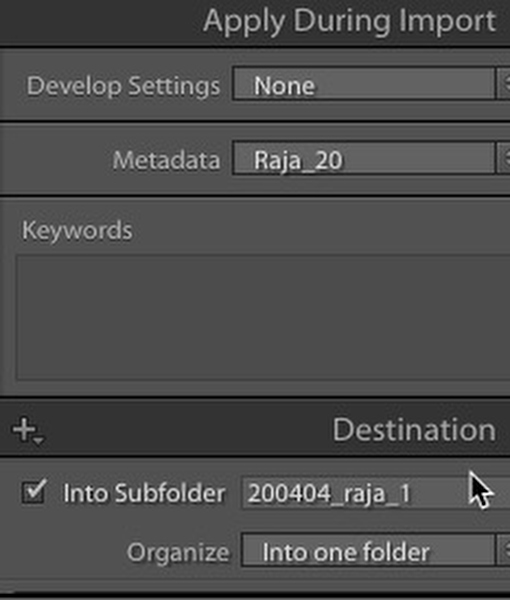
- In the Destination pane, I will tick the box “Into Subfolder” and add a folder name (e.g. 200403_raja_ampat_1). Scrolling down, I will navigate to and select the 2020 folder that I created on the hard drive earlier.
I then click Import and import the image files onto the hard drive and into my Lightroom catalog. Once imported, I now have the files on my portable hard drive and (at this point) on the memory card. Before I do anything else, I need to back up my files and the catalog. I do this by using an app to clone my primary to the back up external hard drives. I use ChronoSync, but there are numerous other options for both Mac and Windows.
I then double-check to make sure that all the files are copied and that the backup process has been successful, before formatting the card in the camera for the next shoot. Often, I will format the card prior to my next dive as one of my pre-dive preparations.
This process is repeated for each day of the trip, with a new folder being created for each day. Typically, I add video and still files to the same folder.
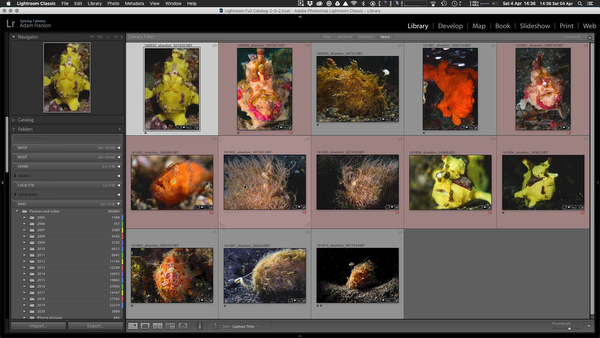
I will do a rough sort of the files in the field, deleting any obviously out of focus or badly composed images. I also add keywords to specific images and will do a 0 or 1 star ranking. If I am publishing images or videos from the field, I will do appropriate edits to the images, but I tend to keep the majority of editing and sorting until I can do it in a color-managed environment with big accurate screens.
Importing files from Trip to the Main catalog
Once I return home and just before showering (!), I open up Lightroom with the MAIN catalog and plug in my primary portable drive. I then navigate to File-Import from Another Catalog. This opens up a dialog box to navigate to the Lightroom catalog on the external hard drive (e.g. raja_ampat_04-20).
This, in turn, opens a dialog box “Import from Catalog”, with the catalog name. On the left-hand side, it will list the folders that are in the trip’s catalog. Just below this, it asks about “File Handling”. The correct option here is “Copy New Photos To A New Location And Import,” and I, specify my 2020 folder on the Mac Pro’s internal hard RAID drive.
I then click import and go and have a shower! With large trip catalogs, the import process can take a while, so it is best to leave it to sort itself out.
Once the files are imported onto my Mac Pro’s drive and incorporated into my MAIN Lightroom catalog, I then back up, using Chronosync to sync my backup drives with the internal RAID drives. Shutting Lightroom down should trigger the backup catalog option, which I will also do.

Once Lightroom is reopened, the images from my trip are now added to my home computer and are available in my MAIN catalog. Any keywording, color coding, sorting and edits that were done during the trip are imported along with the images, so the images appear identically to how they were on my laptop.
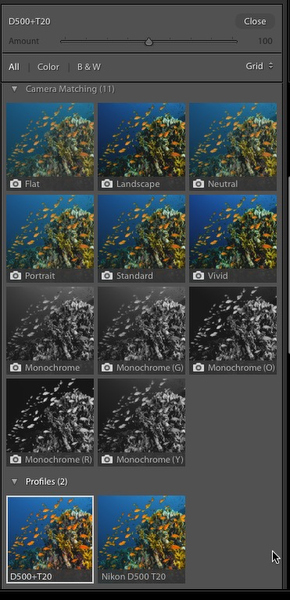
I often use a user-generated color profile on my underwater images and this has to duplicated exactly on both machines in order for Lightroom to display the images the same. If you use a standard profile, this problem does not occur.
My normal editing process is to wait a few days and then do a second round sort. I then create a Collection and add selected images that I want to work on. I tend to add final keywords to images when I export them for use. These will include species ID,