Review and guide: Shiny Prints Metal Prints
Most underwater photographers enjoy seeing their work in print. Whilst the bulk of our images inevitably remains on a hard drive, it is always fulfilling to display them on a wall. Whilst home printing has come a long way, when the prints get big and complicated, there are specialist printing houses that will provide the best results.
One of the processes that some specialist printing houses can offer is printing onto metal. The process initially involves taking a digital image and printing it onto special paper using sublimation inks. This is then placed onto a thin aluminum sheet and subjected to a combination of heat, pressure and time. This causes the inks to vaporize and then bond with the surface of the aluminum, effectively etching the image into the surface of the metal itself.
This process produces beautifully saturated vibrant colors, clean sharp details and a glossy “wet” finish. This means that they bring the often saturated color palette we encounter underwater to life.
The prints themselves are robust and waterproof and should not fade as paper based prints often do. The fact that the image is literally on a sheet of metal means that framing is not required, giving a clean and modern look.
Wetpixel was approached by the team at Shiny prints to feature the metal printing process. Based in Florida, Shiny Prints have worked closely with many leading underwater shooters and are well equipped to provide an insight into the process. Based on this experience, Wetpixel and Shiny Prints have collaborated on providing a step by step guide to getting the best from the metal printing process.
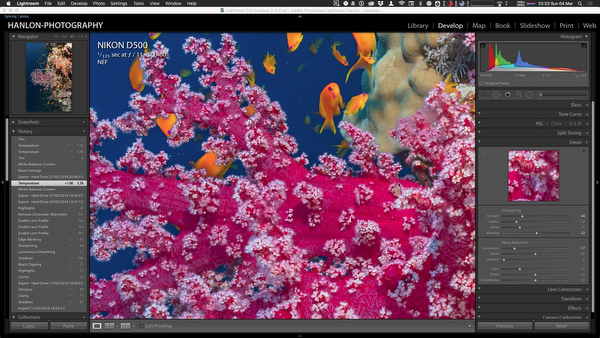
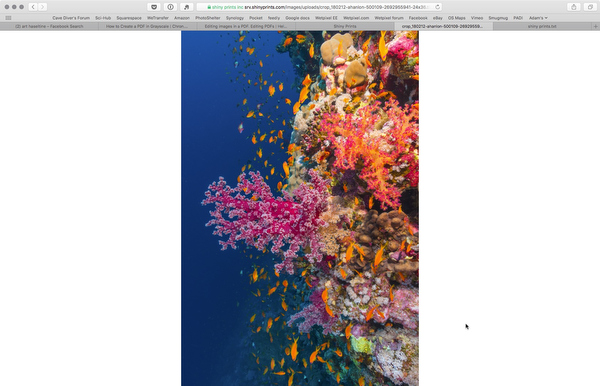
Selecting an image
I must confess that it is hard to envisage what will look good when printed. I think we get used to viewing images on screens and making the leap back to the print process can be challenging.
As mentioned above, metal provides amazing lustrous saturated colors. Foremost in my mind was the though of finding an image that took advantage of this
Proofing the image
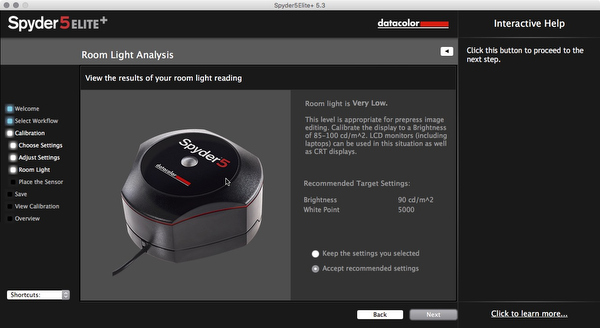
In any print process, matching the way an image appears on screen to it in print is arguable the biggest challenge. The team at Shiny Prints recommend the use of a calibrated DDC monitor. These are specifically designed to proof photos and allow the computer to control parameters on the display. If this is not an option, at the very least the monitor should have been recently calibrated with a device like the Datacolor Spyder or X-Rite Colormunki. Bear in mind that calibration drifts over time and different lighting conditions or viewing angles will effect the way an image looks.
In any case, Shiny Prints recommend that ordering a proof of an image from a printing house is important, especially if you are using a new lab or printing medium. Do not be surprised if the proof does not look like the image on your monitor. The idea is that the proof should allow you to assess the direction in which colors may be shifting and allows you to compensate accordingly.
Lightroom and other software packages offer Soft Proofing options. These are designed to simulate how an image will appear when printed by processing it through a selected printer ICC profile. Sadly, Metal requires specific print profiles that are unique to each lab and their individual print process. At this point, the software soft proofing options will not give a realistic idea of how the print will appear.
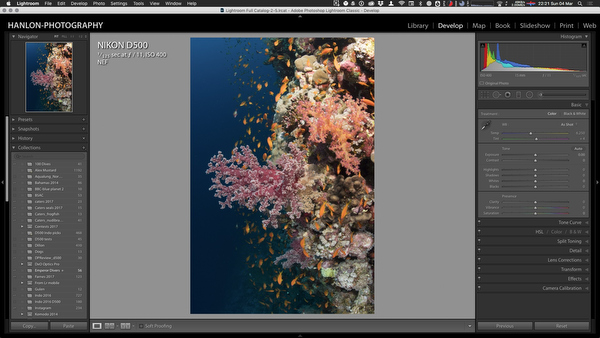
Processing for metal prints
Correct processing for metal prints is both subjective and image dependent. It is hard to provide general guidelines. Bear in mind that bigger prints can be handled differently to smaller ones, as the viewer tend to move further away from them. Here are some general ideas:
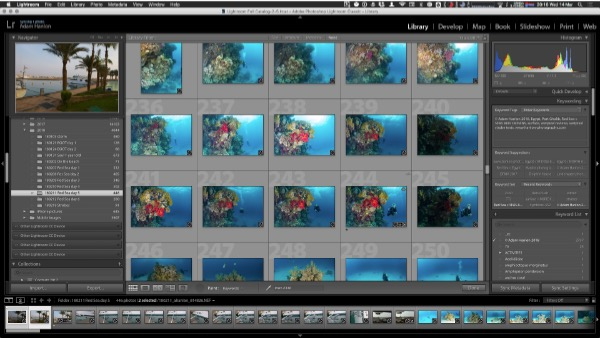
- Make sure the image is sharp (where you want it to be sharp.) The printing process is tough on images that are not technically sharp. When talking about underwater images specifically, soft corners caused by shooting with a dome port will potentially ruin a print. Check your image out to the corners! To check any image, zoom in to 100% on your computer screen
- Sharpening tools in processing software are important, but use them with caution. Always zoom in to 100% while sharpening. There is sometimes a temptation to try and fix soft images with sharpening, and while this is something that can often work with low resolution screen imagery, it shows up on big prints
- Creative sharpening can be a good tool. Bearing mind that selectively adding sharpening to an image that is sharp cam draw the viewers attention to the sharpest areas.
- Be careful with noise. The tiny bit of noise that often occurs as we push up ISO or open up the Shadows slider in Lightroom looks fine on screen, but is dramatic when printed out at a big size. Lightroom has excellent noise reduction tool, but they all soften the image little. Bear this in mind when sharpening!
- Metal prints really make colors pop. Underwater blues or green water colors looks amazing. White balance and hence tone will either enhance or destroy the print! If there is a large global correction when white balancing, it is likely that this will enhance the reds, but will wash out the blues.
Export settings (or creating the file)
Shiny Prints find that photographers will sometimes supply images without a color profile. It is almost impossible to reproduce an image’s color unless it has an associated color profile. Lightroom works natively in ProPhoto RGB, which has a gamut greater than can be actually seen on screen. Most print labs tend to use either sRGB or Adobe RGB1998. It is important to find out which profile they use and export your file in that profile.
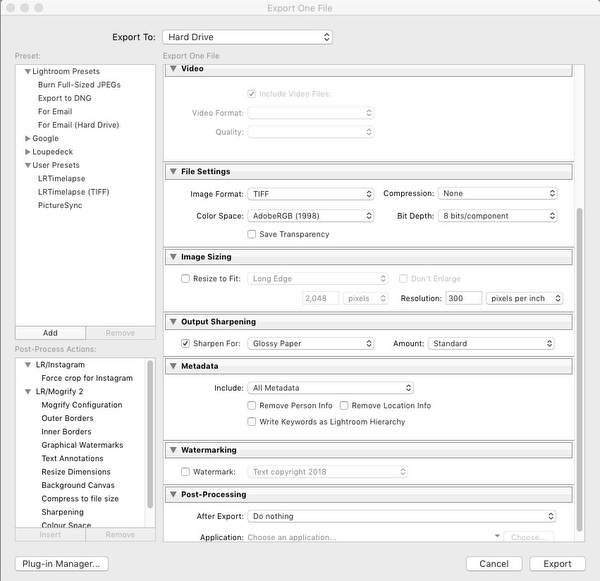
Resolution is also often poorly understood. Every camera has a native resolution, which produces an image of a certain size. Using software to add resolution (upsampling) tends to make details soft and blurry. Shiny Prints have found that for medium sized prints (16” x 20” to 24” x 36”) there is no noticeable difference in quality when printing at 180 dpi vs 300 dpi, even when viewing up close at less than 1 foot away. From a viewing distance of 3 feet away, they have found that there is no noticeable loss in quality in a print output at just 72 dpi.
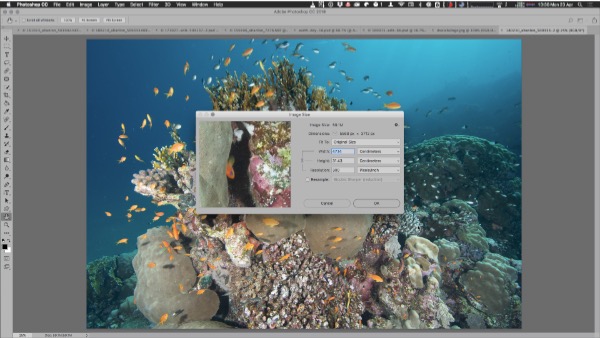
To avoid upsampling, make sure that “Resize to fit” in Lightroom’s export options or the “Resample” in Photoshop’s Image Size menu is unchecked.
One last point is to remember to uncheck the option of adding your copyright text or logo to the image. If the lab receives an image with your copyright logo or text, it will likely print it with this! Of course, copyright, EXIF metadata and keywords that are embedded into the actual image file will not effect the print and there is no need to remove it.
Most export menus offer a variety of file types. Shiny Prints recommends either TIFF or high resolution JPEG. TIFF files tend to be (almost) uncompressed, while JPEG files are. In order to minimize the effects of this compression on your print, high quality output shock be selected. Lightroom offers a “Quality” slider in the “File Settings” dialog, which should be set at over 90. Other software packages may simply offer Small-Medium-Large option, in which case, chose Large. Remember to ensure that any file size limiting option (“Limit File Size To”) is unchecked.
Bear in mind that larger files will take longer to upload, so ensure that you have a fast internet connection before trying to upload a large TIFF file for example.
The Shiny Prints interface
Shiny Prints have an online upload portal on their website. This allows users to design, upload and check their images. The interface is simple and intuitive to use.
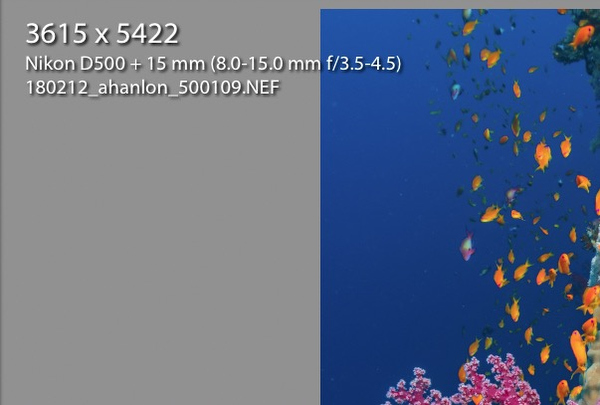
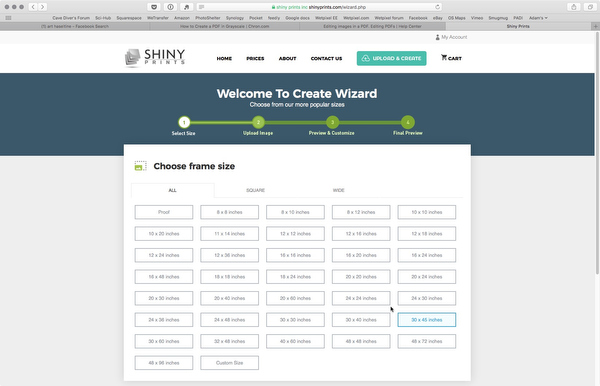
The first step is to choose the size and aspect ratio of print that is required:
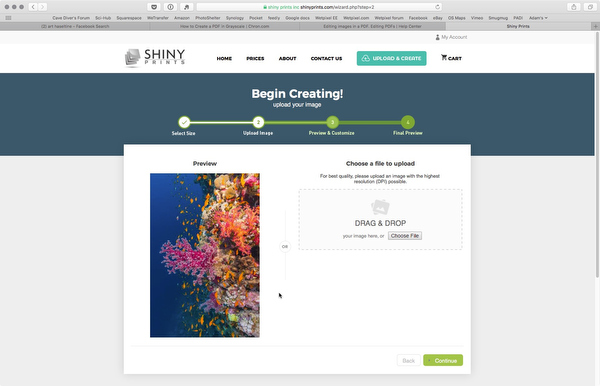
The next step is to upload the image to the Shiny Prints site:
Upload times were fast with my (fast) internet connection. The saved TIFF file from my Nikon D500 was 58.8MB.
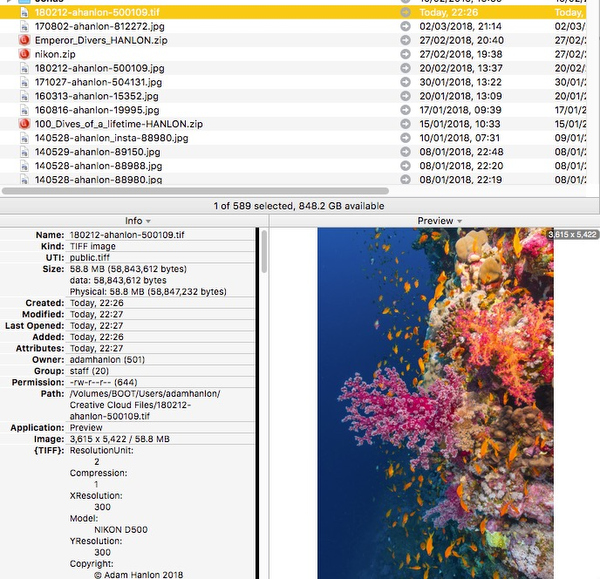
My connection tops out around 16Mbps upstream and the file loaded in just over a minute.
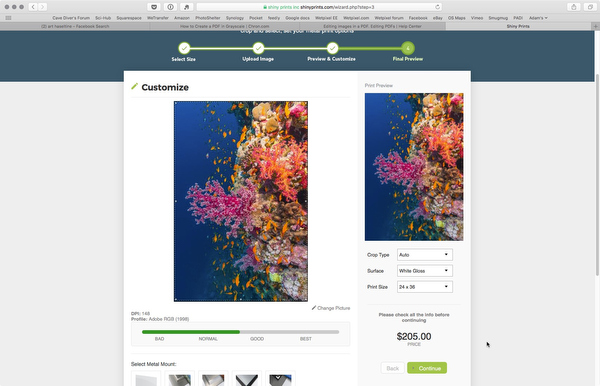
Once uploaded, the next screen provides a large preview of it, and gives an indication of how good the image’s quality is. It also offers some Customization options, including the Crop Type, Metal Surface and Print Size. It also offers various mounts and an option to add a Backstamp:

This is a nice feature and for those planning to sell prints, adds value to the work. There is also the option of a full screen preview:
The last screen offers a summary of the options and the selected image:

One final step takes you through to shipping and payment options and order confirmation. The process is simple and straightforward.
Meanwhile…at Shiny Prints
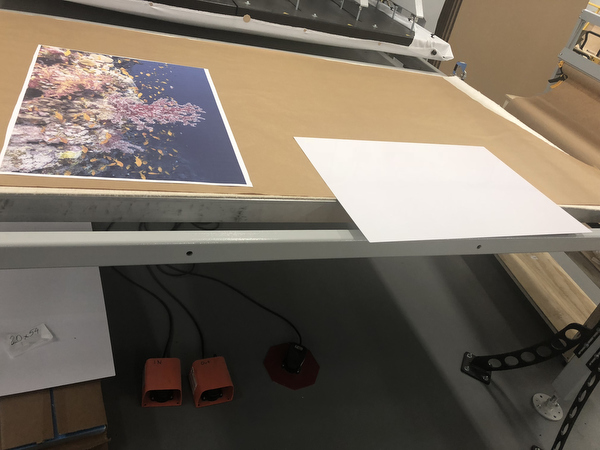
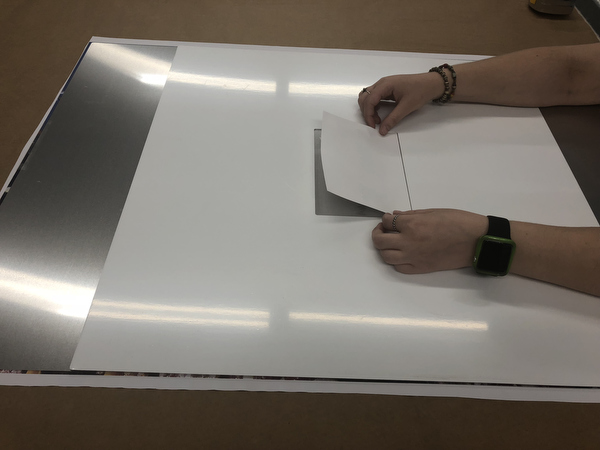
The image is printed out as a “negative” at full size using dye sublimation inks.
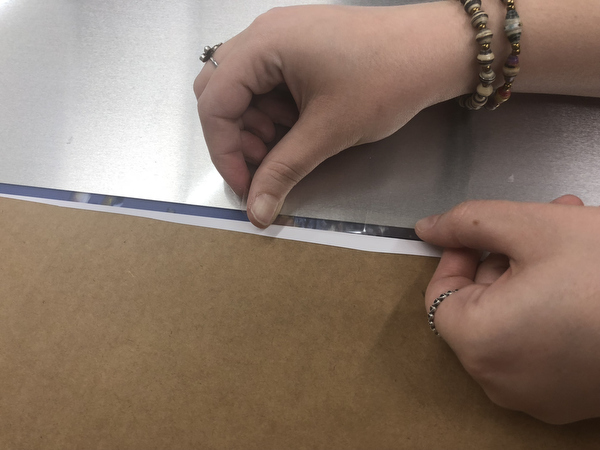
This is then offered up to the aluminum sheet:
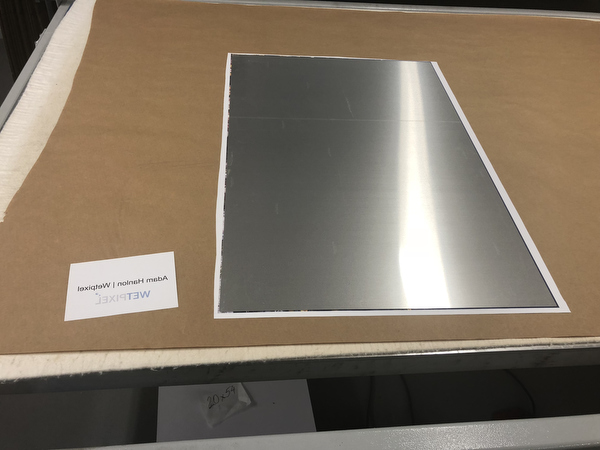
And then taped precisely into place:
The backstamp print is also treated the same way:
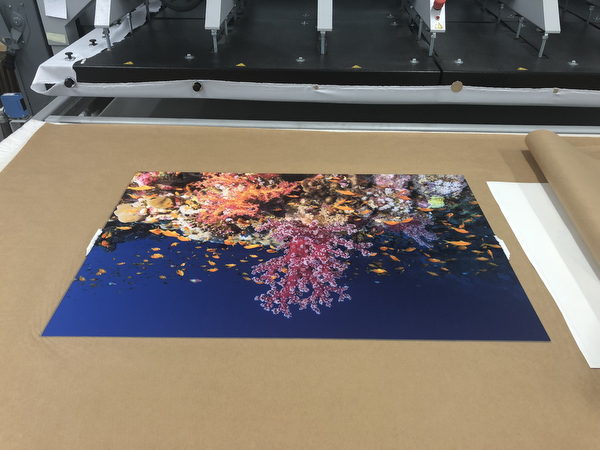
The whole print is then inserted into the press (which you can see in the background of this image. Using a combination of heat, pressure and time, the dyes in the “negative” transfer to the surface of the aluminum sheet and bond with the metal.
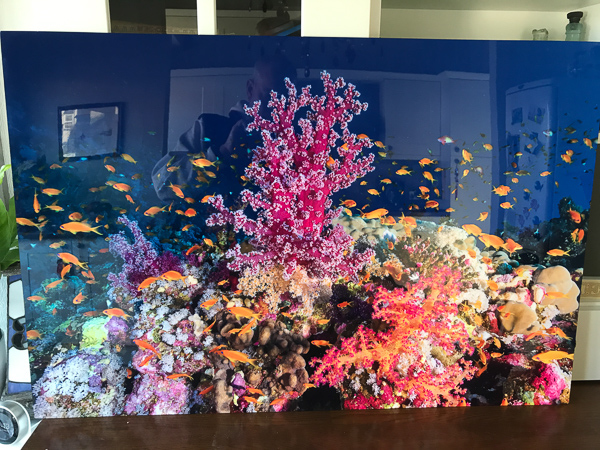
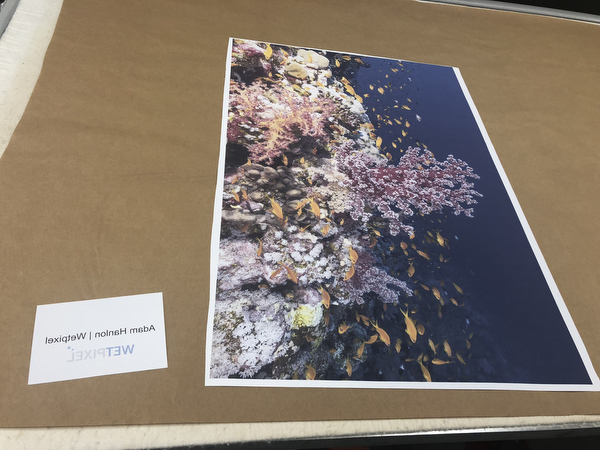
The final result

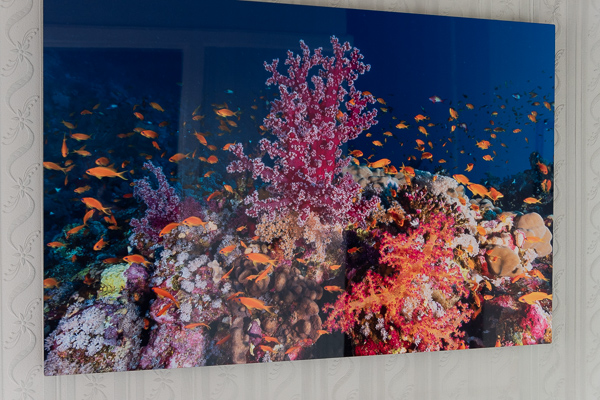
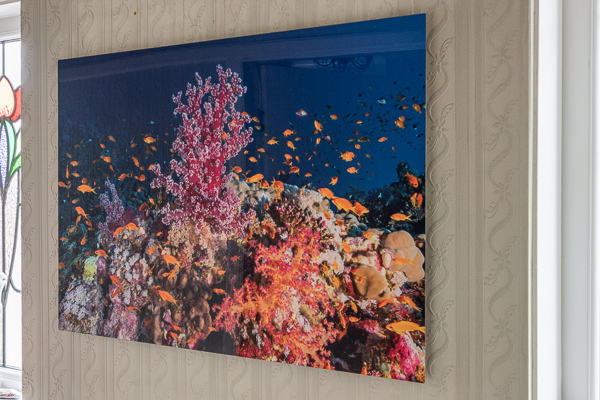
The finished print was securely boxed up and shipped over.
It is stunning. Lustrous tones, super sharp details and phenomenal, vibrant colors.
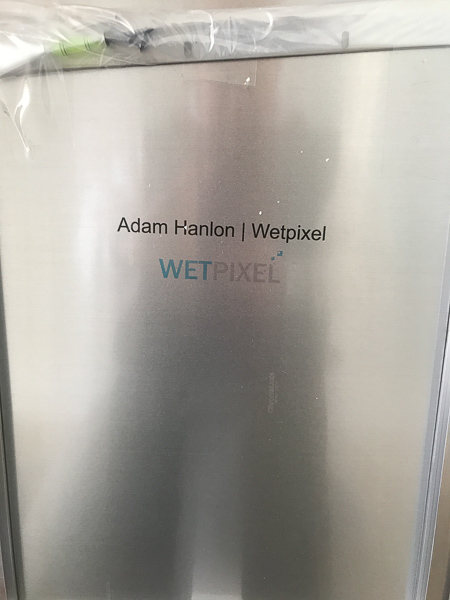
The Backstamp looks really great too:
Metal prints definitely suit the amazing saturated colors that we capture in our underwater images. The process brings out the beauty that we attempt to capture. Metal prints make fantastic wall hangings and are an excellent way of showcasing our work.
The ordering process at Shiny Prints is simple and straightforward and helps to ensure great results. The quality of the print is stunning.
About Shiny Prints
Th team consists of Matthew Dee and Will Heinitz. Matt has over 15 years of real world experience working with some of the worlds top photographers and artists offering color correction and color matching services. Shiny prints, a metal print photo lab in south Florida where he works on one on everyday with professionals to get the most out of their images and to help prepare their files for printing. Shiny Prints are offering the Wetpixel community a 30% discount on their first order with the coupon code WP30.
FTC Disclosure:
Shiny Prints provided and shipped the print to the reviewer free of charge.