Wetpixel Guide: Your new housing

Fstoppers has published a guide to help those that have been fortunate enough to receive new cameras as gifts over the holiday period. The ten points listed include diopter adjustment, checking default settings,and critically, reading the manual. Wetpixel has added to the list for those who have received new housings to go along with their new cameras!
Seem like a theme here, but read the manual supplied with the housing as well. Frequently, housings are designed to be used with certain options enabled in the menus of the camera. These are normally noted in the manual. If they are not, I would contact your supplier/dealer to find if you need to adjust camera settings to get the best out of your new investment.
At the same time, the manual will also list the steps needed to correctly mount the camera into the housing. Some housings need the camera to be switched on, some off. Some may need exposure dials to be at a certain position in order for all the housing controls to access those on the camera.
- When inserting the camera, visually verify that the housing controls actually reach the camera’s. Occasionally, either mis-aligning the camera, or slight differences in camera body size can mean that some controls may not work, or even worse one control being continually “pushed” may mean that others will not work at all.
- Examine as many of the visible seals and sealing surfaces as you can. O rings can be easily damaged, so even though they are new, there is a small risk that they may not seal. The best way to check them is to gently stretch them (feeling the seal’s elasticity) and then either run them through your fingers slowly, or if you are brave (!), run them through your mouth. With either technique, be aware of any jagged edges, splits, hard patches or changes in texture. If in doubt, replace. Sealing surfaces should be smooth and free from dirt or artifacts from manufacture. Be careful what tools you use to remove O rings. they must be softer than whatever the housing is constructed of. If you scratch the sealing surface, it will not seal.

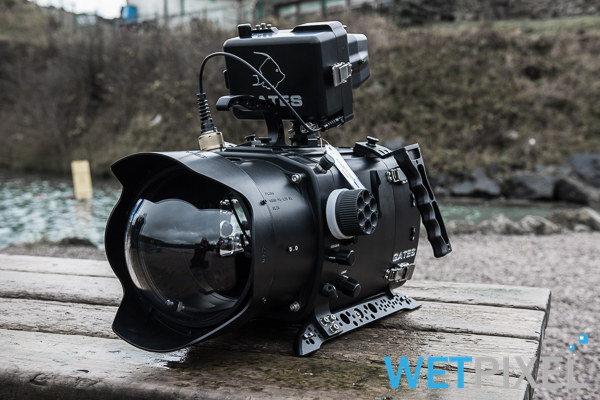
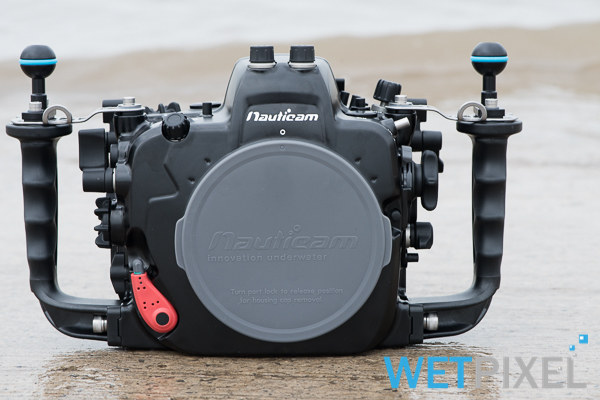
- Externally, ensure that ports, strobes and strobe arms can be attached. There are some different sized thread options around, as well as different sized balls. Often the only way to find out is to assemble it all and check. Ensure that ports are correctly sized for the lenses you want to use. If the lens is longer than the port, the latter may still mount, but will then leak…..
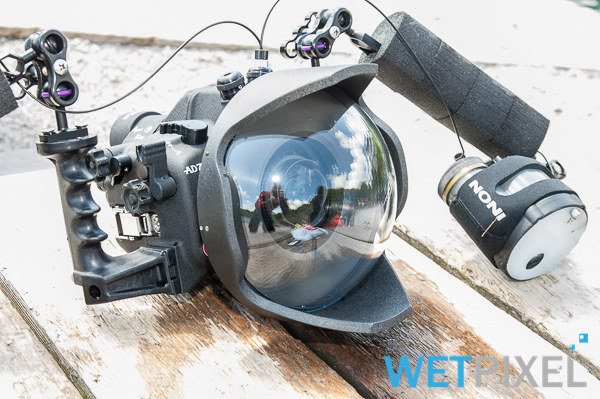
- Whilst talking about strobes, assemble the triggering cables and bulkheads. Once assembled, insert the camera and test. Ensure at this point that both the camera and strobe are either in Manual or TTL mode. If these two settings don’t match, the camera will not sync the strobes firing to the main flash. Testing TTL is best carried out by shooting a series of images of an object with a macro lens and using small apertures. As you change the aperture, the lighting on the subject should remaining fairly constant. TTL will work on the surface as well as underwater. Just be careful not to allow your strobes to overheat.
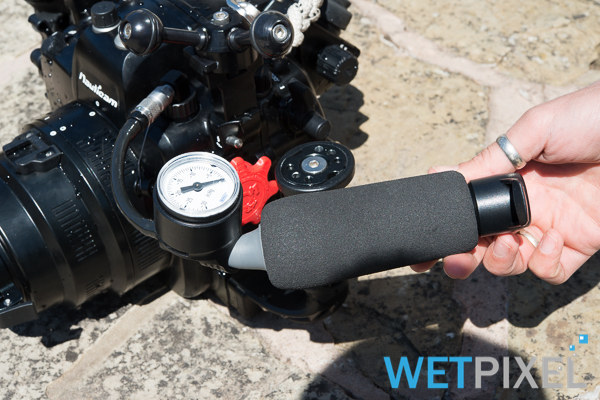
- If you plan to use magnifying viewfinders, HDMI bulkheads or any other ancillary connection that goes through the housing, mount this too. Follow the advice given in the device’s instructions and visually verify O ring surfaces and O rings as per (4) above.

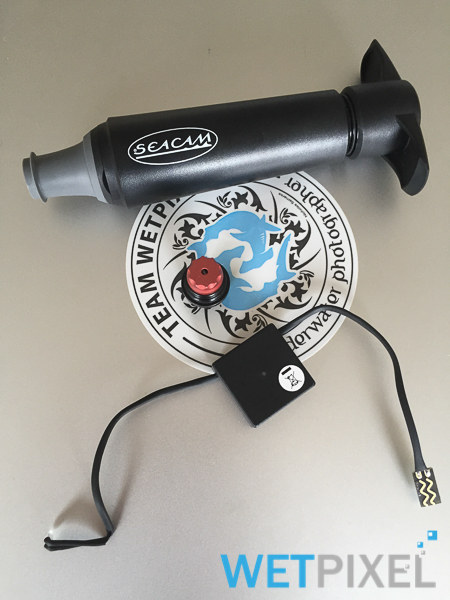
- If you plan to use a vacuum monitoring device, mount (following the guidelines above and instructions supplied) and activate it. Pump a vacuum out of the housing. It is a good idea to do so with the camera mounted in the housing as this simulates button positions etc. when the housing comes under pressure and can flag up potential issues. Your housing should hold a vacuum. If it does not, check O rings and sealing surface again.
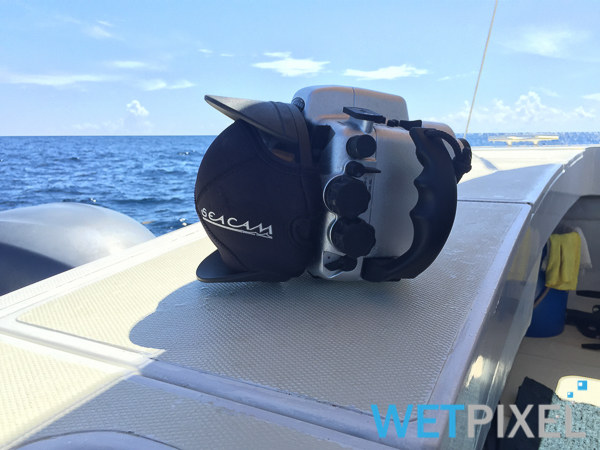
- Remove the camera and any ancillary electronics (strobe triggers etc.) from the housing, ensure that blanking caps are fitted as appropriate and fill the housing with tissue paper. Pump a vacuum out of the camera as normal. Then take the housing for a dive. This is probably the single most important step. How long is probably less important than how deep as typically, a housing will leak due to increased external pressure, rather than the time to which it is exposed to it. However, slow leaks are not unheard of, so ideally spend some time with the housing underwater. During the dive watch for bubbles and systematically press or rotate each control on the housing.

- Open the camera and check the tissue paper. It should be bone dry. If it is not, recheck the visible seals and try again. It is probably worth trying a few times, to reduce human error. In truth, if the housing will hold a vacuum, it is unlikely to leak underwater, so vacuum detectors do tend to reduce potential human error in pre dives sealing.
- Once you are satisfied that the housing is watertight, install the camera and strobes and before you dive, take a series of photos topside. View these photos on the camera’s LCD. This is your opportunity to start to get used to control placements, check strobe function, to make sure that the AF system is operational and that the lens cap is off!
In the event that the above steps throw up some unexpected problems, it is wise to enter a dialog with your housing vendor early on. They may be able to provide specific advice for the equipment in question. Another good source of information are the Wetpixel forums. When doing so, remember that at this point, the cause of the issue is unknown, so it is unfair to label a product as defective. The issue is just as likely to be user error!
Housings are complex and have a tough task. Keeping all moisture away from your delicate camera electronics is an engineering feat in itself. However, if you follow the advice listed above, together with the the housing’s instructions, it is likely that you will enjoy many leak free years with your new system.