Subal CD1D Housing for Canon 1D/1Ds Mk II
Introduction
Last year while diving in
St. Vincent, I was taking photos with a Nikon CoolPix 5700 in an Ikelite housing
alongside a friend who was using a couple of Nikonos's with 35mm slide film. When we
returned from the trip, I shared video in the form of a DVD prepared wth footage from my Sony
PC-120/Ikelite combination, and some CoolPix photos while Karl shared his
slide photos. I was amazed by the detail that I was missing, and began researching
things like resolution, noise level and dynamic range. I came close to purchasing the Fuji FinePix S3 Pro but in the end decided on the Canon EOS-1Ds Mark II
for a number of reasons (including indirect influence by folks from Wetpixel).
Following this choice for camera, I decided on the Subal housing based on my
understanding of features, price and availability. This year I have had my
first experience with the new set-up and am very pleased.
Wetpixel Editor Eric Cheng asked me
to review this housing after participating in a discussion I started on
DPreview.com. I have attempted to give a feel of the actual experience of using
this camera. Please feel free to provide feedback or ask questions!
Subal Product Line
I was going to provide details on the Subal line, but a link may stay more current. Here are some useful links:
Subal Housings: http://www.subal.com/indexe.htm
CD1D Housing: http://www.subal.com/pdf/cd1d_e_s.pdf
- The last “D” stands for dual because this particular unit is equipped for dual strobes.
For ports, I've found Marine Camera Distributors' web site to be the most helpful. This was where I acquired my housing, port, and accessories.
When my budget recovers, I plan on purchasing the DP-FE2 dome port with extension ring EXR-100 for the Canon 24-70 mm f/2.8 L lens. The lens' zoom can be operated with focus gear.
Details on the 1Ds housing are also obtained through Marine Camera Distributors.
Getting There
Once you have acquired the equipment the problem immediately encountered is that restrictions on weight and baggage size are becoming problematic. I always dive with both still and video equipment, so this was a big concern. I discussed this on Wetpixel and ended up with a combination I'll describe below. I was able to carry on the equipment that I wanted to and check in the remainder.
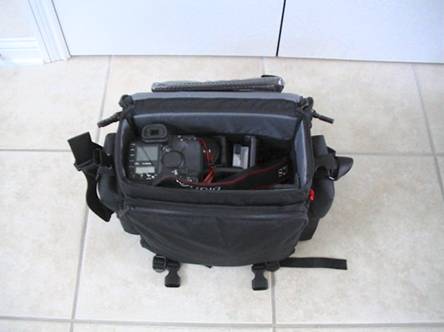
My Canon EOS-1Ds Mark II, lenses, 580EX, Sony PC-120, and Dell laptop went in my carry-on Tamrac 619 Pro System 19 case. This is the only case I found that had both good, compartmentalized slots for both photography equipment and a laptop. It is light-weight and easily to handle.
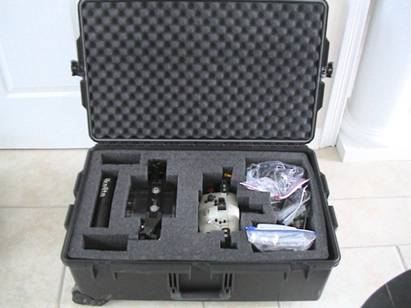
The remainder of my gear went into a
Storm IM2950 Case. The Storm case is somewhat lighter than an
equivalent Pelican case and has easy-to-operate latches. The diced foam
worked well for me to create a safe environment for the underwater housings,
strobes, halogen lamp, chargers etc.
Setting Up
Getting a feel for the set-up complexity is one way to become familiar with the housing. The one thing I will state up front is that you should make sure to check and lubricate all o-rings before launch. The last thing you want to do is to end up with an $8,000 camera soaking in salt water!
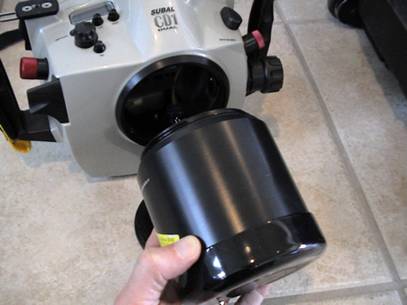
Step 1- Attach the lens port
- If you leave the lens port
attached and the housing sealed, pressure (both positive and negative) can develop during air transport, which can make it hard to open when you arrive at your destination. I used the plastic insert on the housing during
transit and only installed the port just prior to diving. Check and lubricate o-rings.
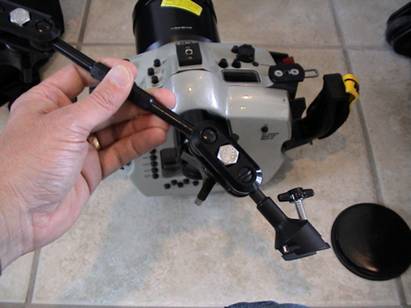
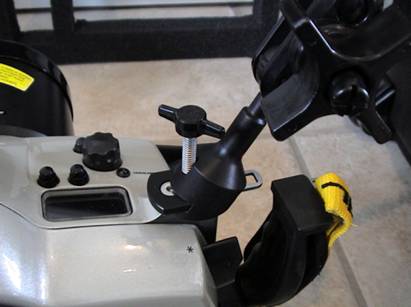
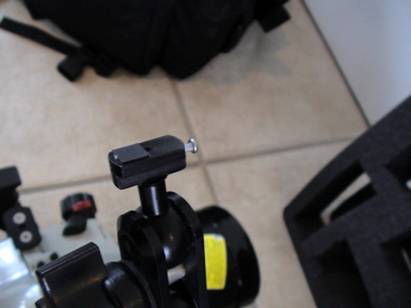
Step 2- Attach the strobe arm via the BA-TG base adapter to the mount on the T plate. I am showing mounting to the right side here but will probably use the opposite orientation in the future so that I can read the numbers on the top more easily.
Step 3- Attach the strobe to the strobe arm. I am using now an Ikelite DS125 strobe.
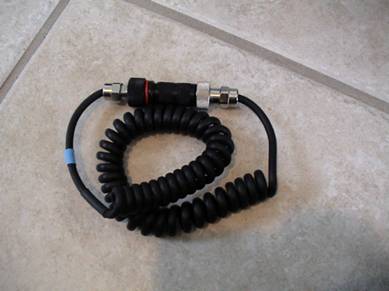
Step 4- Attach the strobe sync cord to the Nikonos connector on the Subal housing (the DS125 can only be operated in the manual mode here), and then to the strobe.
a.
b.
c. 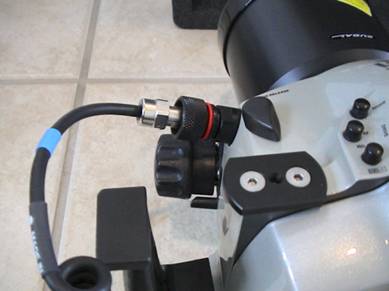
d.
e.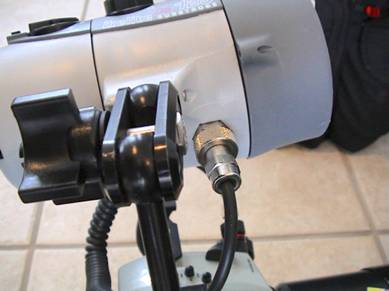
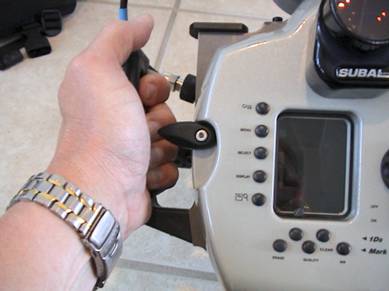
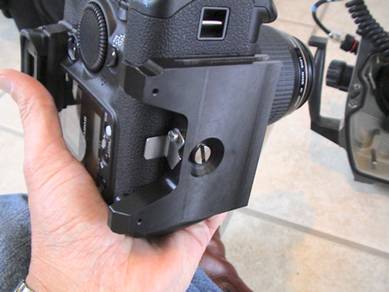
Step 5- Open the housing back in order to attach the camera. Opening the housing is accomplished using latches on either side, which are depressed and then turned.
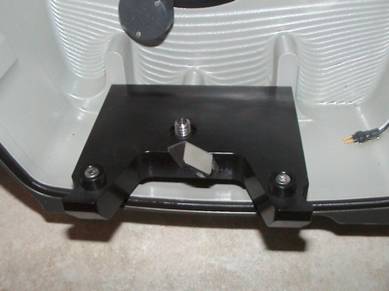
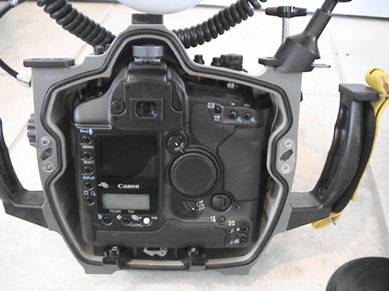
Step 6- Remove the tray and attach the 1Ds Mk II via the knurled knob on the bottom. Note that the inside is basically painted aluminum and lacks the dark absorbent material found in Seacam housings. The housing prevents light from entering the lens so the lack of black coating does not bother me. Presence of an absorbent material sounds like a good idea, however -- I wonder how much difference that makes to prevent water damage in the case of minor leaks? I am not personally willing to test this.
Moisture sensor may save your camera if a leak happens!
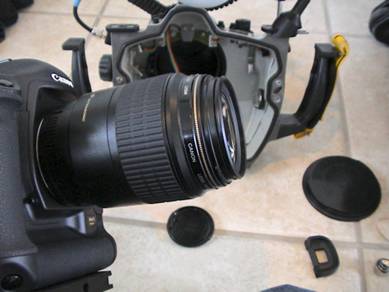
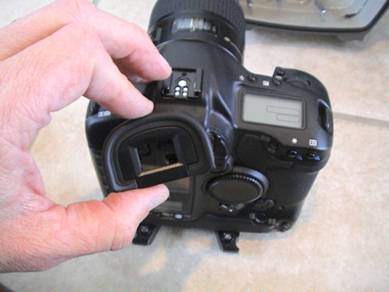
Step 7-Remove the lens cap and viewfinder eyepiece from the camera and insert it (attached to the quick-release tray) into the housing. Attach the strobe cable to the top of the unit.
Step 8-Replace the back and latch on both sides. The back should fit tight, with a thin, even gap all around.
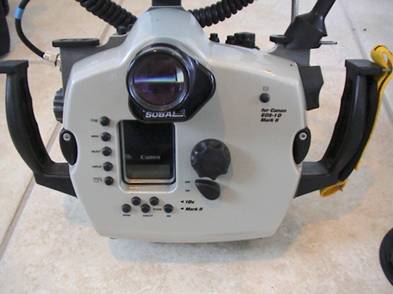
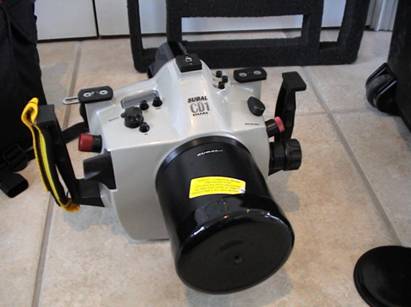
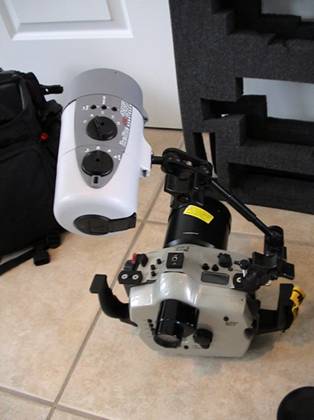
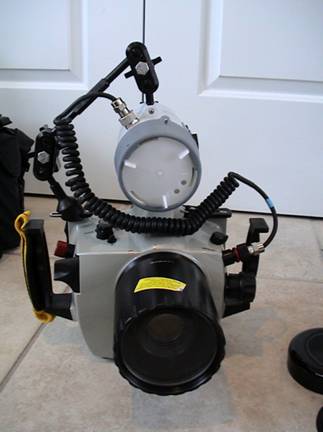
Assembled unit: Feels heavy on land, but is pretty manageable in the water.
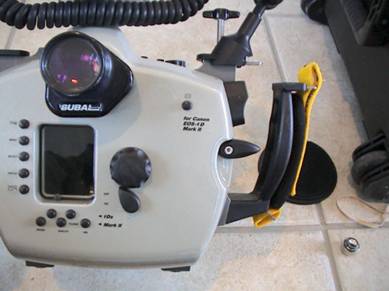
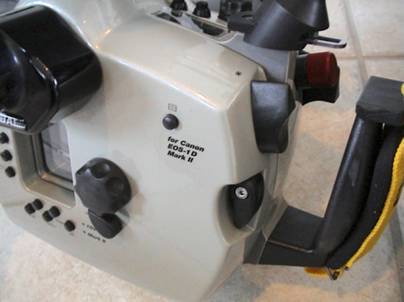
Controls and Operation:
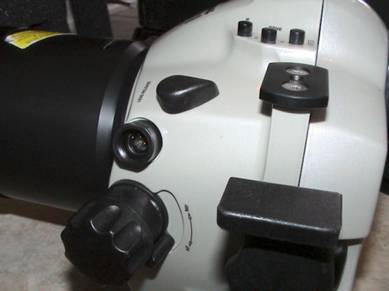
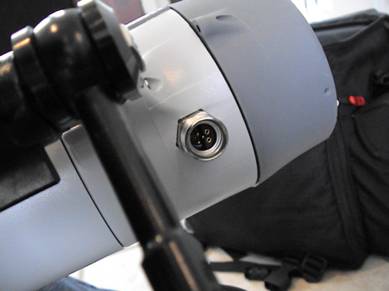
Right side, front - Includes FEL (fixed exposure level), Light, +/-, Top Dial, Leak Alarm Light, and Shutter. The second strobe connector is also located on this side. I found the shutter to have a very good response for focus and shuter release in the water.
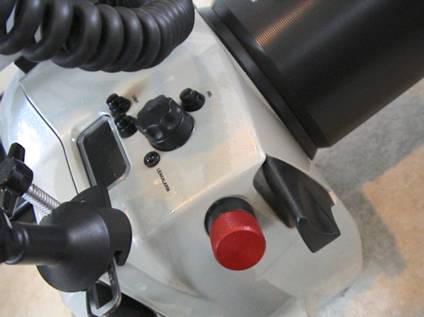
Right side, back - Includes * lever, focus area selector. Eric has pointed out in the past that the Seacam housing has a very convenient placement for the * control, which can be used to lock focus when in the manual mode [Actually, the * button can be used for a number of different things, and can be used in ALL modes -Eric]. I believe the Subal arrangement will work OK for me but admit I have not used this option a great deal. I found the grip to be comfortable, and in this configuration the housing is slightly negative in bouyancy. With the dome point, I would guess that the housed camera would be just about neutral (can't verify, as I don't have the dome port, yet).
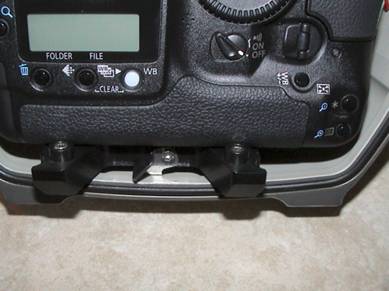
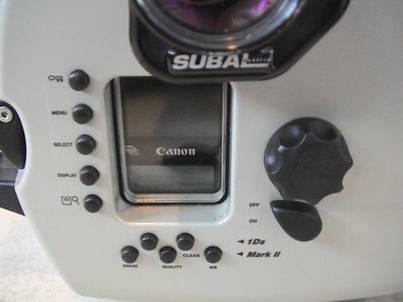
Back side - Includes the Lock, Menu, Select, Display, Store, Erase, Quality, Clear, WB, On/Off Switch and Back Dial. You need to make sure that the housing and camera are both in the off position when assembling.
Top, Left Side - Includes Mode, AEB, ISO buttons and Lens Release switch.
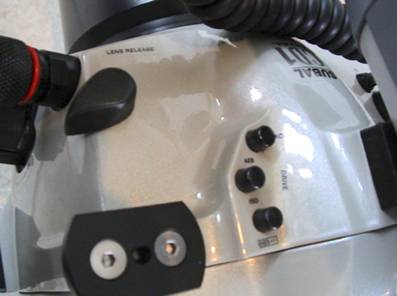
Right Side - Includes the AF – MF switch and manual focus dial. Obviously, manual focus does not work unless you add a focus ring to the lens.

The Results:
I can only share my
experience based on this one lens and dive trip, but I was very pleased with
the buoyancy, controls and results. Two cramps to my land style were the
difficulty in reading the numbers on the top when adjusting exposure, and occasional difficulty in getting auto focus to lock in low light.
My preferred settings:
Auto focus (I don't have the manual focus ring), RAW format, no
sharpening, noise reduction or contrast enhancement, Adobe RGB color space [Note that these settings have no real effect on the final image if you shoot in RAW mode -Eric].
I did all the processing in the EOS viewer utility, where sharpening was added
along with an intensity tone curve. In cases where I did not get as close as I
wanted, I used the White Point balance feature to bring a bit of color back into the image. Afterwards, I resized the JPEG output
in Picture Window Pro and added my attempt at a water mark. The following are
some of my favorite subjects that you can find in abundance in Tobago. All are
shot in manual mode.
I am very pleased
with the housing and camera, but wasn't pleased with the strobe, because it does not provide sufficient light when the distance to the subject is greater than a few feet*. It would be nice to have the option to use the eTTL
feature and maybe this will be practical in the future with two 580EX’s in
Subal strobe housings.
*[This is going to be a problem with any strobe of this power and is a challenge for underwater photography in general. For more light, adjust your aperture/ISO, use two strobes, get closer to the subject, or get a more powerful single strobe. A one-strobe setup can be very effective -- with practice. Also, E-TTL will make its way to strobes soon; Ikelite has already incorporated E-TTL support into their latest Canon housings, and
Matthias Heinrichs has an OEM circuit board available for installation inside third-party housings. -Eric]