Review of UK-Germany housing for Canon 5D
We took delivery of two housings in December 2005 and have used them on several trips since then. We are amateur vacation photographers and moved up from the Nikonos V directly into this housing and camera combination.
As UK-Germany does not have an American distributor we were forced to buy these basically sight unseen. We relied upon the reputation of the manufacturer, Uwe Kiehl, and I must say the workmanship has met expectations.
Construction Materials
This housing is made of CNC machined aluminum and the fit is so good that it is actually possible to swap backs between the two housings we purchased. The latching hardware is made of stainless steel and is of a locking design that prevents the latch from opening inadvertently.
The handle is made from some sort of plastic and feels comfortable in the hand.
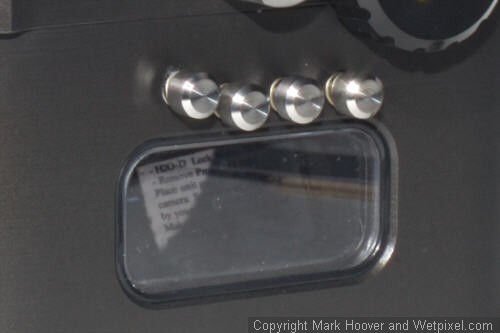
NOTE: Most of the housing images are with the handle removed. The H20D Leek Detector is not part of the factory housing.
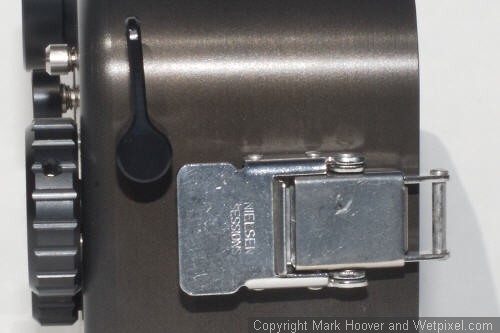
Right hand view of the latch.
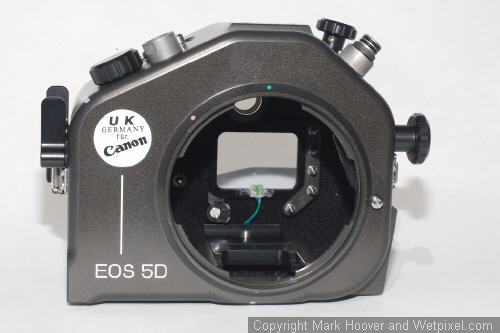
The housing is anodized and is “flocked” inside to reduce reflection and soak up any minor condensation.
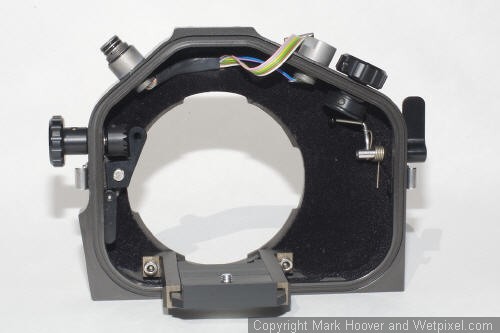
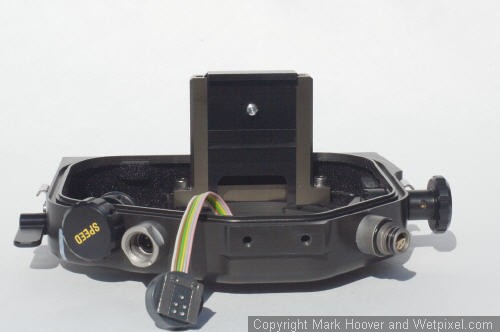
Viewing the Controls from the Rear (inside) - Note the flocking.
The housing is quite compact and, according to my calculations, displaces about 2800 Cm3 of water when submerged. What this means is that when you add the Canon 14mm lens, dome port and extension ring the complete is only around 200 grams negative without strobes. The dome port is quite buoyant on its own so one does fight the tipping tendency a bit.
Controls
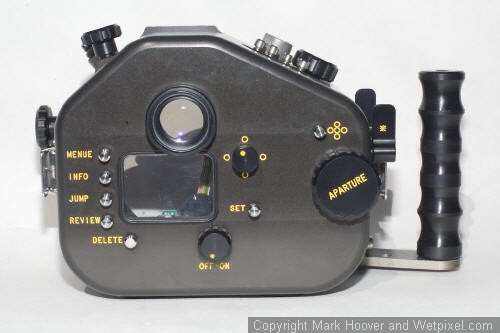
Viewing the Controls from the Rear
All controls are easily accessible with the exception of:
1) Direct Print
2) Erase
3) AF Point Selection/Enlarge
Shutter speed is accessed via a dial at the top and the Aperture settings are controlled via the dial on the rear.
The shutter is accessed by a lever on the right hand side of the housing. This is easily reached with the index finger without removing ones hand from the handle.
The star (*) button is reached via a lever on the right hand side which is easily manipulated with the thumb.
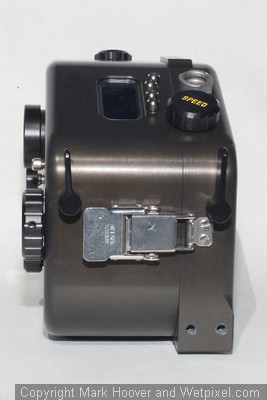
Viewing the Shutter and * Controls from the Right hand side.
The Zoom and Mode functions are on the left hand side of the housing.
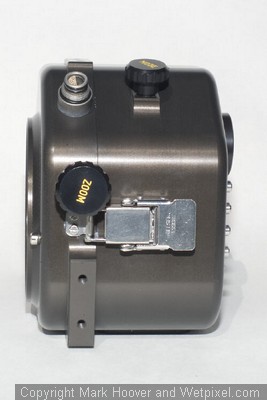
Viewing the Left hand side.
The top LCD panel and controls are accessed via the top of the housing.
Viewing the top LCD controls and viewing window.
Viewfinder
The viewfinder is bright and doesn’t obscure the field of vision.
Ports
The ports mount with a bayonet style mount. They mount relatively easily and securely. There are a wide variety of ports available and the inside diameter is 91mm.
Strobe Bulkhead Options
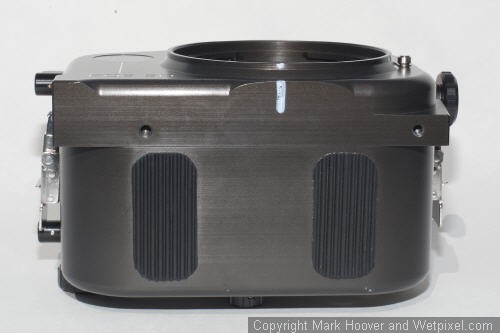
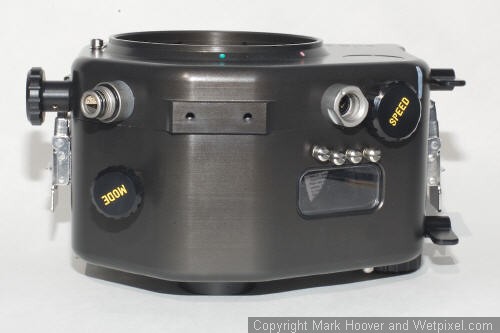
Viewing the Controls and strobe ports from the front.
We ordered one housing with one S6 (for the UK-Germany Ring Flash) and one Nikonos V bulkhead for use with Ikelite substrobe 200. The second housing has dual Nikonos V bulkheads.
External Mounting surfaces
The housing comes with one Kilgus strobe mount but since we don’t use this style it has been removed from our housings. The two tapped holes on the bottom are spaced widely engh that they are useful for mounting other strobe hardware
Mounting holes on bottom.
Also, the top holes accept a ULCS BA-AQN Base Adapter
Mounting holes on top.
Before the Dive
The camera mounts to a sliding carriage which slips into a set of guides on the front half of the housing. This provides pretty positive registration of all the controls but be warned if your on-off switch position on the camera isn’t lined up with that of the housing you may not be able to access that control!

Camera mounting plate in retracted position.
Camera mounting plate in installed position.
The back of the housing is machined with a channel that receives an o-ring which is sealed between the two halves via a compression face seal held by the latches on either side. The registration of the front to the back is a continuous step making it virtually impossible to get the latch closed unless everything is properly aligned. The o-ring requires no grease since it is a face seal.
In Between Dives
The CF card is easily accessed once the back is removed. The camera need not be touched. The battery access requires that the camera mounting base be slid out slightly, but the camera need not be removed from the housing, nor must the strobe connection be removed from the hot shoe.
We have experienced no issues with condensation or fogging of the ports.
After the Dive
This is the time when you sit back and compare notes with your fellow divers. You compare equipment, share photos and generally talk about what you like and dislike about your camera, strobe, or housing. So, what would I change if I could wave my magic wand??
1) The latches are very close to the Zoom knob on the left and the handle on the right. Not an impossible task to latch but it is important to get them is the proper position before you drop the back onto the front (see the photo viewing the left hand side).
2) The on/off switch is fussy. I’ve spent more than 1 dive with the camera in the off position. Don’t know what could be done with this because there really isn’t much to grab onto on the camera’s switch.
3) The clearances between the pins and the buttons on the top LCD panel is limited so if you aren’t careful you could scratch the top of the camera.
One last item that has been discussed among UW photographers is why there isn’t some sort of positive lock on most manufacturers’ port mounts. A simple pin to prevent inadvertent movement would be a welcome addition.
Would I buy this housing again?
Aside from the fact that I’ve been warned by the wife that this is the LAST housing I’ll ever buy… if I had to do it all over again I would go with a UK-Germany housing. The workmanship is very good and Uwe has gone out of his way to provide customer service to me since he has no US distributor.
-Mark Hoover