Light & Motion Bluefin Pole Cam Mounting Kit field test and review
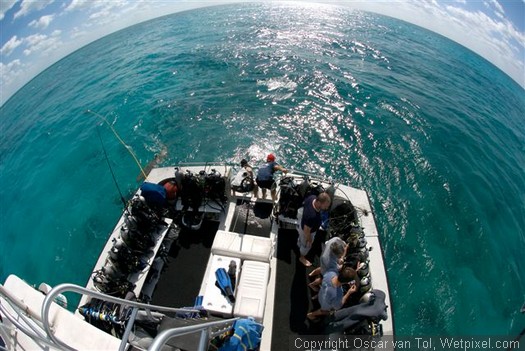
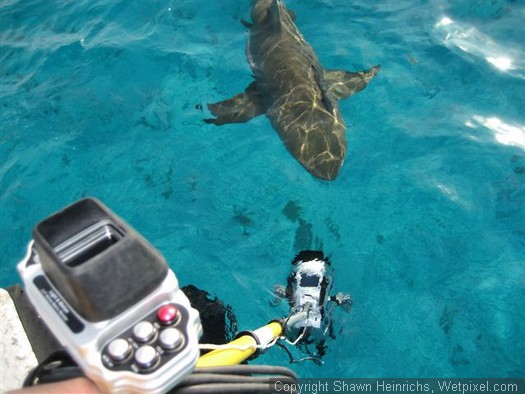
I had the opportunity to field test the L&M Bluefin Pole Cam Mounting Kit with my Bluefin HD housing. This kit is also compatible with the Mako housings as well. I spent a week with Jim Abernethy on the Shear Water filming Tigers, Great Hammers, Lemons, Bulls and reef sharks. The pole cam provided a great means to extend my shooting time and capture shots either not possible or not safe if filmed on scuba.
Overall I was very satisfied with the pole cam. It was simple to assemble, light weight (until you attach the housing of course), and easy to operate. The addition of the Remote Monitor enabled me to lock focus at different ranges and save a lot of tape by switching record on/off. It also provided an excellent view underwater to better frame subjects and track shots. As a result, I am very happy with the footage I captured and will certainly use it in my production.
L&M provides all of the parts needed for the pole cam assembly including a standard hexagonal extension painting pole. At first this seemed odd until I realized the rational. Rather than be stuck with a heavy and pricey pole of only one length provided by a manufacturer, for little cost I could purchase poles of varying lengths to meet my shooting needs. I choose a fiber glass/aluminum 2 section pole that extended to 8 feet.
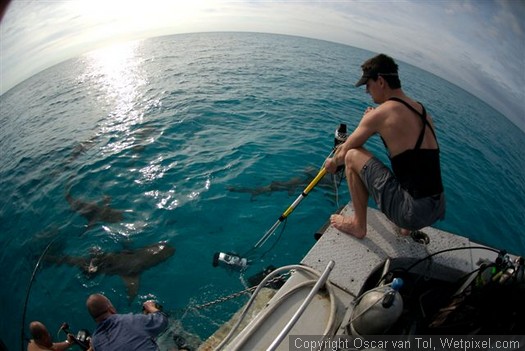
Watch the pole cam in action at Tiger Beach, Bahamas: Tiger Beach pole cam sample.
What I liked:
Cost – approximately $500 for parts (except of course the remote monitor at $1799 and 10 ft cable at $300).
Weight – (of the pole assembly without housing) much lighter than other pole cam options I have tried.
Transportation – easy to transport b/c of collapsible and light standard paint pole. If it gets lost in travel, could easily buy replacement at any hardware store.
Assembly – quick to assemble and attach to housing.
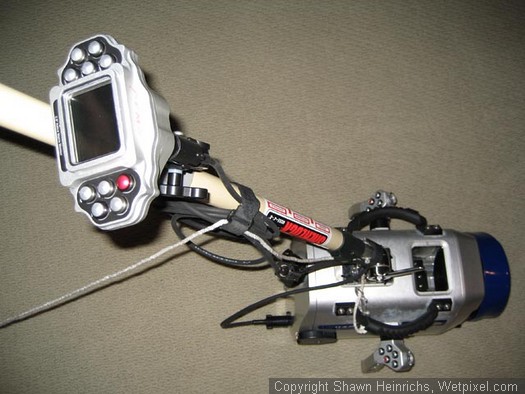
Stability and Control – very stable for shooting. Location of attachment to housing provided excellent control and stability with little added drag.
Adjustability – pole head quickly adjusts by 180 degrees and pole quickly extends and locks tight in place with a push of a button.
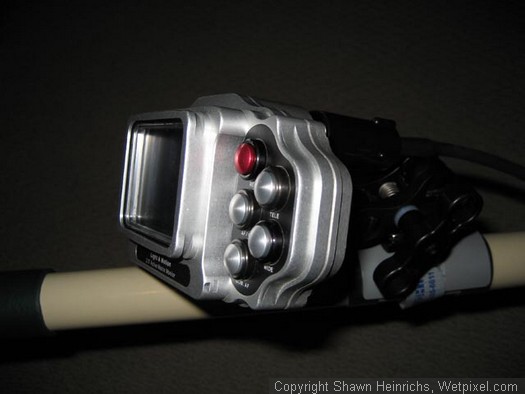
Remote Monitor – this offered a huge advantage for focus, framing, tracking and record on/off. Had no idea I would like it so much.
Attachment of Remote Monitor – L&M provides a simple, adjustable and stable Velcro Utlralight mount to attach the remote monitor to any pole. This is important because keeping the monitor stable and being able to adjust its location quickly is very useful.
Pole Options – standard, lightweight painter poles offered in varying lengths provides ultimately flexibility in configuring your pole cam.
Pole cam head – very easy to adjust, no flex and corrosion resistant because it is made of stainless steel.
Footage – with the pole cam I could get great shots not possible on scuba or snorkel.
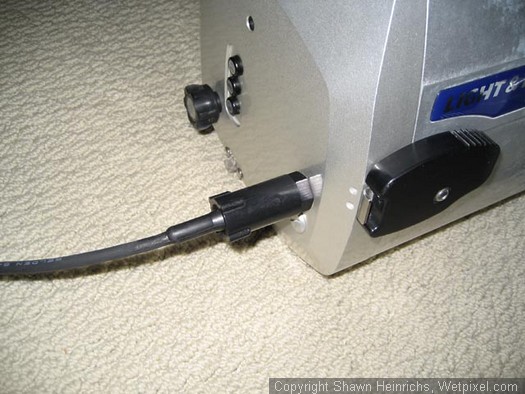
Areas for improvement:Remote Monitor bulkhead – when using the pole cam with the remote monitor, bulkhead must be switched to “on”. When I did a quick disconnect to dive (without using the monitor), I had to open the back door, unscrew the bulk head switch cover, switch to off and close back up. This is time consuming and I don’t like opening my housing that much on the boat. I improvised by clipping the plug off an old monitor cable. I then sealed exposed cable end. When not using the pole cam I would just plug this into the monitor bulk head and leave it always switched on.
Recommendation: It would be great if L&M provided a bulkhead wet plug so I could just leave the bulkhead switched on.
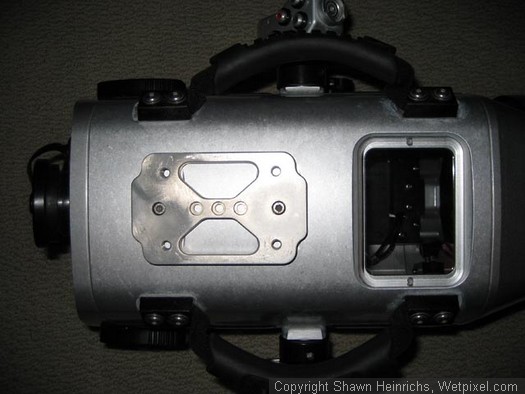
Attachment of Pole Assembly to Housing – L&M provides 4 Allen bolts to secure the pole head to the housing mount plate. When switching between pole configuration and standard configuration, these bolts proved cumbersome, easy to loose and time consuming to screw in. I replaced these Allen bolts with a combo of raised Allen bolts fitted with plastic wing nuts that only required hand tightening. They never once loosened during use. The combination of hand wing nuts and my bulkhead plug enabled me to reduce total switching time to only 1 minute!
Update: L&M should is replacing the Allen bolts with hand tightening wing nuts, likely more precisely engineered than my version.
Safety Lanyard – L&M does not provide any lanyard to ensure you don’t loose your pole cam and housing with an accidental slip on the boat deck. I created my own lanyard with a length of nylon cord and two stainless clips.
Recommendation: L&M could add at very little cost a neat little lanyard.
Regardless of the areas for improvement, I am quite happy with the current offering and expect to continue to get some great use out of it in the future. I would recommend it to any current Bluefin HD or Mako owners who could benefit from pole cam footage. The addition of the Remote Monitor takes the pole cam to a whole new level (for the first time I can remember, I was actually not in a hurry to dive because I was thoroughly enjoying shooting with the pole cam). The suggested improvements would tighten this offering up and remove any tinkering currently required to set it up.
Availability:L&M expects to have the Bluefin Pole Cam Mounting Kit available by DEMA this November.
Assembly Instructions:Parts:
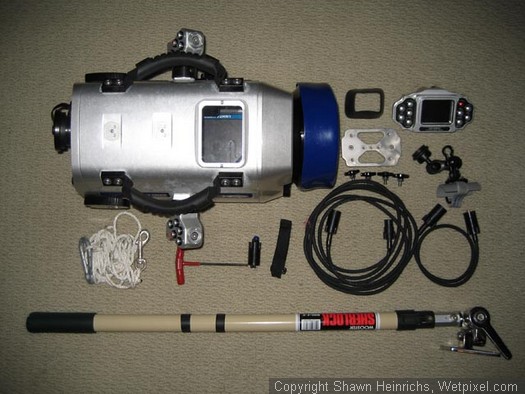
-Mounting plate and screws (L&M)
-Adjustable stainless pole head and screws (L&M)
-Extendable paint pole (L&M)
-Ultralight remote monitor mount (L&M)
-Remote monitor (L&M)
-Standard monitor cable and 10 ft. ext. cable (L&M)
-Monitor bulkhead (L&M)
-Zip ties
-Nylon cord
-Stainless clips
-4mm allen wrench
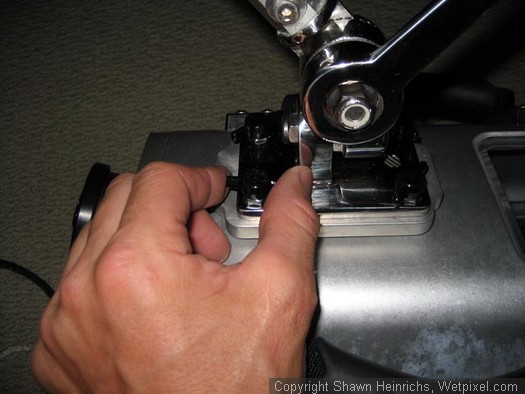
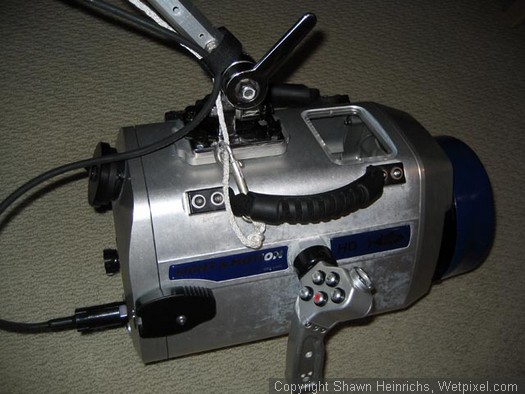
Step 1: Attach aluminum mounting plate with 4mm Allen
Step 2: Adjust pole head for convenient installation
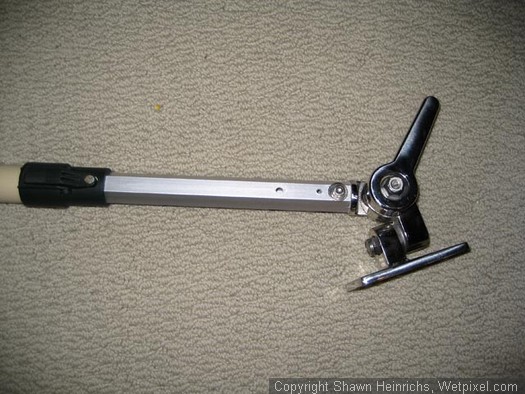
Step 3: Attach pole head to housing with wing nut bolts
Step 4: Attach Ultralight monitor mount to pole
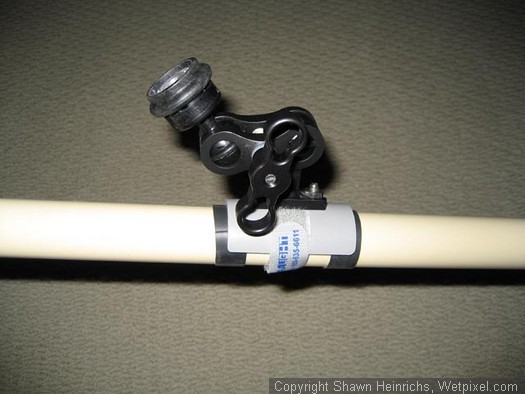
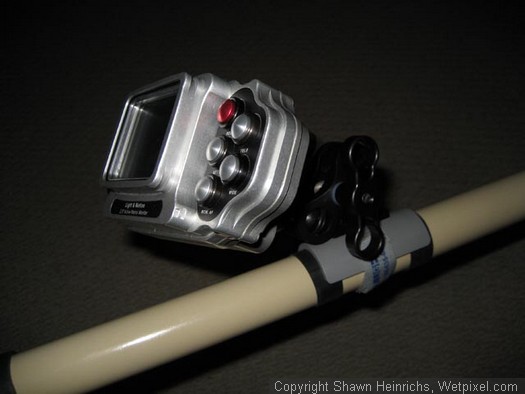
Step 5: Attach Remote Monitor
Step 6: Connect monitor cable to monitor bulkhead
Step 7: Connect monitor cable to Remote Monitor
Step 8: Attach safety lanyard (nylon cord with stainless clips)
Step 9: Zip tie cable to pole shaft allowing slack for extension
Step 10: Capture some very cool footage
-Shawn Heinrichs