ExpoDisc installation in Light & Motion Bluefin HD housing
A month ago, Wetpixel user Daniel Deck posted a message in the forums about his experience using an ExpoDisc to white balance underwater. Many of us struggle with underwater white balance, especially when using wide-angle lenses. It can sometimes be difficult to fill a suitable amount of the frame with a white-balance target, and the color of the target changes as one changes the distance between it and camera.
Still, using an ExpoDisc underwater isn’t quite as convenient as using one on land. For one thing, ExpoDiscs aren’t rated to survive for long after being dunked into salt water. There is also no easy way to cover the front of housed camera’s lens with one. Daniel solved this problem by modifying the macro lens flip-down assembly of his Light & Motion Bluefin HD housing to take ExpoDisc material, which was brilliant. I promptly placed a bunch of orders online, and modified my Bluefin HD similarly.
This is a photo tutorial of how to fit an ExpoDisc into a Light & Motion macro lens flip-down assembly AND a Light & Motion flip-down red filter.
Using a L&M Bluefin HD, here are the configurations that are possible when white balancing with an ExpoDisc underwater:
1) Standard lens or Wide Angle lens (80+ degree)
The Bluefin HD allows the use of two flip down assemblies when using either of these lenses. Modify the macro flip-down assembly and replace it with a flip-down ExpoDisc. The flip-down red filter stays intact.
You can still shoot with or without the red filter. Just flip the ExpoDisc down to white balance, and up to shoot.
2) Ultra Side lens (100+ degree)
As of early August, 2006, this lens is not shipping. However, L&M has informed us that this lens sticks out into the Bluefin housing from the front and requires the removal of the macro flip-down filter assembly. In this case, we can no longer place the ExpoDisc in the macro flip-down assembly, so we replace the flip-down red filter with an ExpoDisc, and fix a red filter in front of the lens of the Sony FX-1 or Z1u camera.
The Bluefin HD doesn’t have any room between the flip-down filter and the front of the camcorder, so a red filter must be placed inside the front barrel of the Sony FX-1 or Z1u. A 72mm URPro filter can be disassembled to fit perfectly inside this barrel. After removing the inner retaining ring, the filter itself goes inside the barrel and sits touching the lens area (it doesn’t actually touch the glass). The retaining ring can then be screwed inside the barrel (which has inner threads) to hold the filter tightly against the camera’s lens.
And now, on to ExpoDisc and flip-down assembly modification.
Parts needed:
- 4x4" or 4x5.6" ExpoImaging ExpoDisc Flat Digital White Balance filter, $160 [Amazon]
- Note that a 77mm filter ($115) will be large enough for the macro flip-down assembly. The 4x4" is enough for modifying both the macro and the red filter flip-downs. [Amazon]
- .050 hex key/allen wrench to disassemble 4x4"/4x5.6" ExpoDisc, $0.50 - $3 [Amazon]
- Macro lens flip-down assembly and/or red filter flip-down assembly from Light & Motion
- Dremel with cutting attachment and drill attachment (drill for red filter replacement only), $35+[Amazon]
- Ultra fine point permanent marker
- Safety glasses (very important)
- Replacement, longer screw for macro lens flip-down assembly
- Hex keys/allen wrenches to reassemble L&M assemblies
Be sure to use safety glasses when using the Dremel, or you may end up with bits of hot plastic stuck in your eye! Here we go:
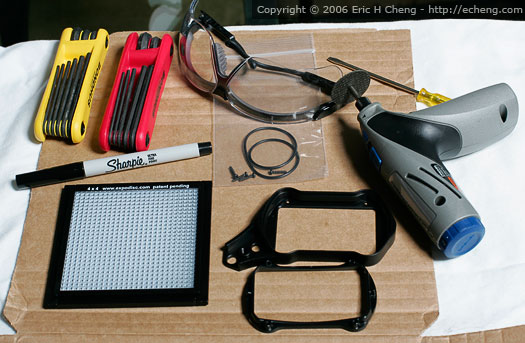
ExpoDisc, L&M macro flipdown holder, dremel, and safety glasses. I’m sure you are
all envious of my fancy “cardboard sheet over pillowcase on glass table” workspace.
The ExpoDisc comes beautifully packaged—its packaging rivals Apple packaging, which is the ultimate in indulgence! I gotta be frank here. I hate fancy packaging because it ends up in the trash after you take the product out. In this case, it was made even worse by the fact that I promptly chucked the packing into the bin and then destroyed the product. What a waste. :)
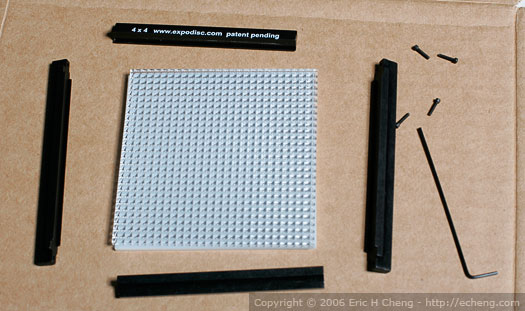
4x4” ExpoDisc disassembled by using a .050 hex key

4x4” ExpoDisc comes apart into three parts. Keep them together.
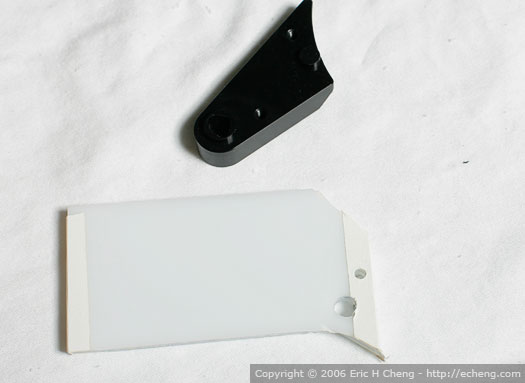
Use a marker to trace a rough outline of the macro flip shape.
Use the open area as a rough guide and draw a larger outline.
You don’t want the cut ExpoDisc to fall through the hole! Good luck. :)
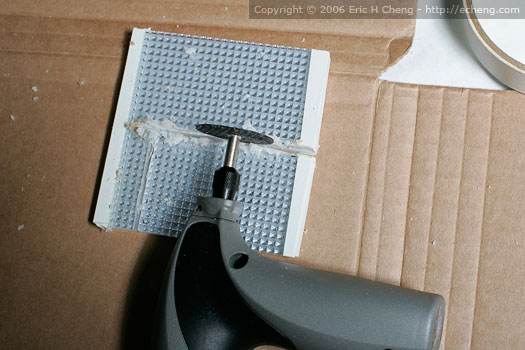
Use a dremel to cut the ExpoDisc. I taped the ExpoDisc together before cutting.
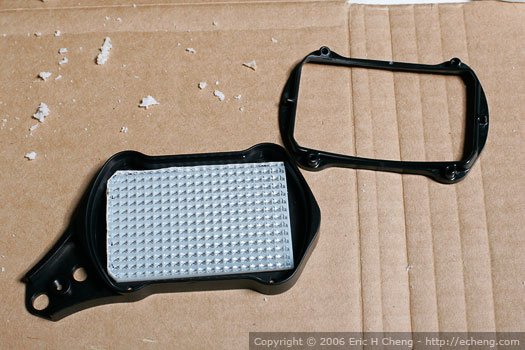
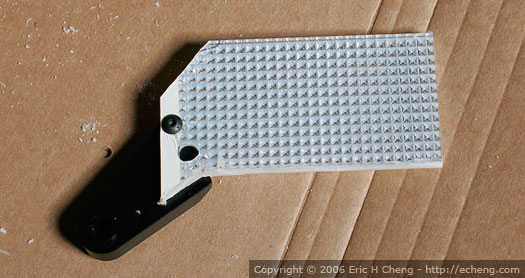
The cut ExpoDisc in its new home.
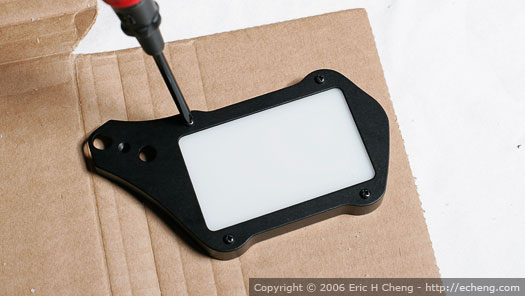
Screw the flip assembly back together.
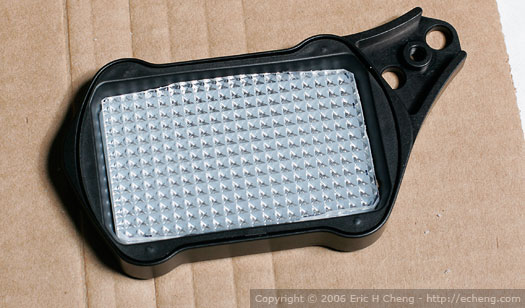
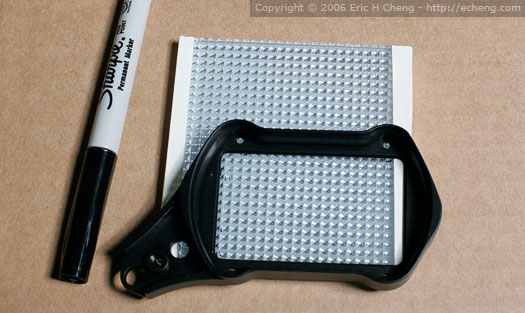
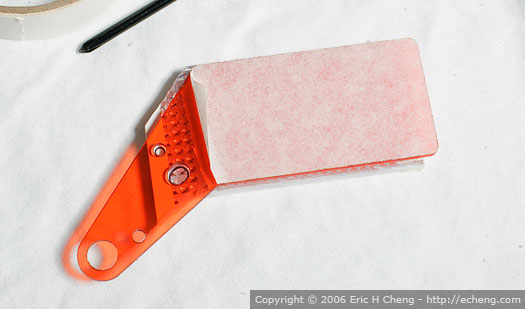
The completed ExpoDisc flip-down filter
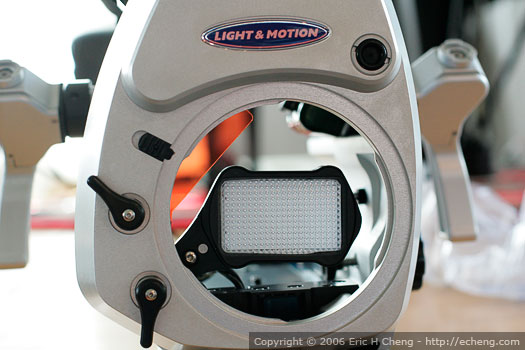
The L&M Bluefin HD with ExpoDisc flip filter installed
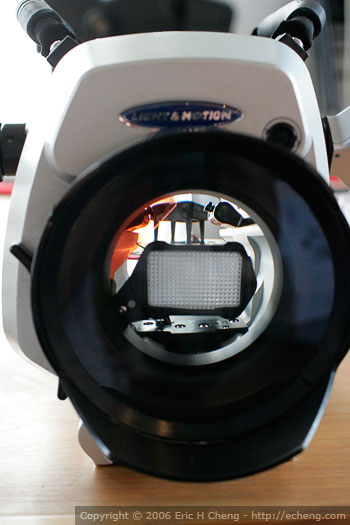
The L&M Bluefin HD with ExpoDisc flip filter installed
The remaining piece of ExpoDisc is big enough to replace the red filter.
Trim the piece to match the shape of the red filter.
Place the red filter over the ExpoDisc and trace the holes and angled corners
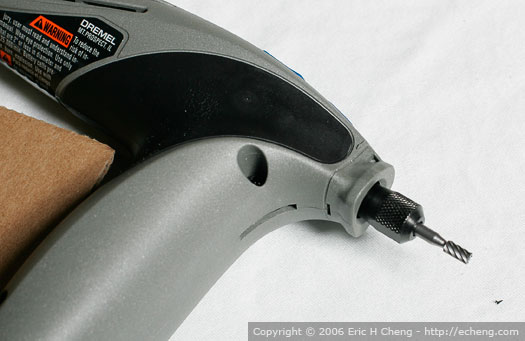
Use a drill bit in the dremel
ExpoDisc with two holes drilled and angled corners cut
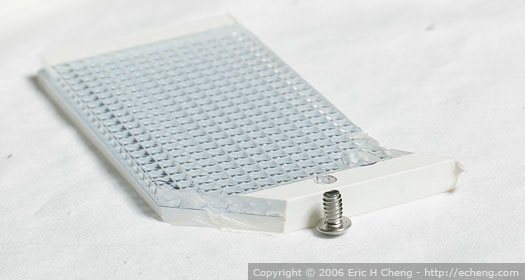
The factory screw is too short to hold the ExpoDisc in the red flip filter assembly
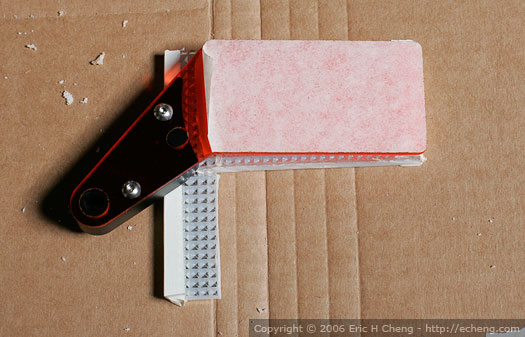
ExpoDisc installed in red flipdown filter assembly, using longer screw.
I also replaced the masking tape on the outside edge of the ExpoDisc with clear tape.
Once I do some testing in the water, I’ll come back and post sample screenshots and video.
Light & Motion is doing some testing of their own, and should they prove to be positive, we look forward to seeing a factory versions of new, underwater white-balance solutions!
—
Author: Eric Cheng, Editor, Wetpixel.com
See some of Eric’s work at http://echeng.com/travel/