Amphibico Endeavor housing for Sony HVR-V1U review and field test
My Observations
I’ll talk about the camera first. The HVR-V1 was the first 1080 progressive scan 3x sensor HDV camera on the market. Read Adam Wilt’s review for the technical details. The low-light performance is very decent as HDV cameras go, but not as fast as the Z1. At 6db, the noise is still very acceptable but the noise reduction is the DSP brings the resolution down quickly after that. Progressive scan does demand more light for the higher resolution. In fact the Peak Signal to Noise Ratio (PSNR) for the V1 is about 54 to 56db at 12db (courtesy of Alan Roberts, technical guru at the BBC), which is about the maximum for HDV format. The Z1, while more sensitive, has a PSNR of 49. So while there may be more noise, the detailed resolution of the V1 has a more detailed picture than the Z1 at 12db gain. Overall, the V1’s resolution is better than the Z1, especially in progressive mode.
The CMOS sensor does remove smearing in bright lights and there are a few more important image controls over the Z1 like knee control. The most notable advantage over the bigger Z1 is the 20x lens, which can only help in macro shots. The 30x digital zoom is surprisingly usable, although I didn’t test it with the Endeavor due to the lack of subjects and lights to make it a good test.
The rolling shutter effect that apparently plagues CMOS sensor cameras was minimal in my tracking shots underwater since I didn’t pan too fast and the distortion underwater is difficult to see. You can find it if you look hard for it but for all intents, it wasn’t a factor in my tests. Another issue is the blocking and artifacting from HDV compression when the scene gets busy. I found it manifesting in topside shots of the choppy seas. It’s noticeable to my semi-trained eye but only truly objectionable if the project is due for filmout. I’ve seen enough blocking on broadcast HDTV productions. Color and inter-frame is the biggest issue. HDV’s 4:2:0 is limited in this respect but with the ability of post-production conversion to various 4:2:2 intra-frame codecs like Apple’s Prores 422 or Avid’s DNxHD, a lot can be done. But expect no miracles.
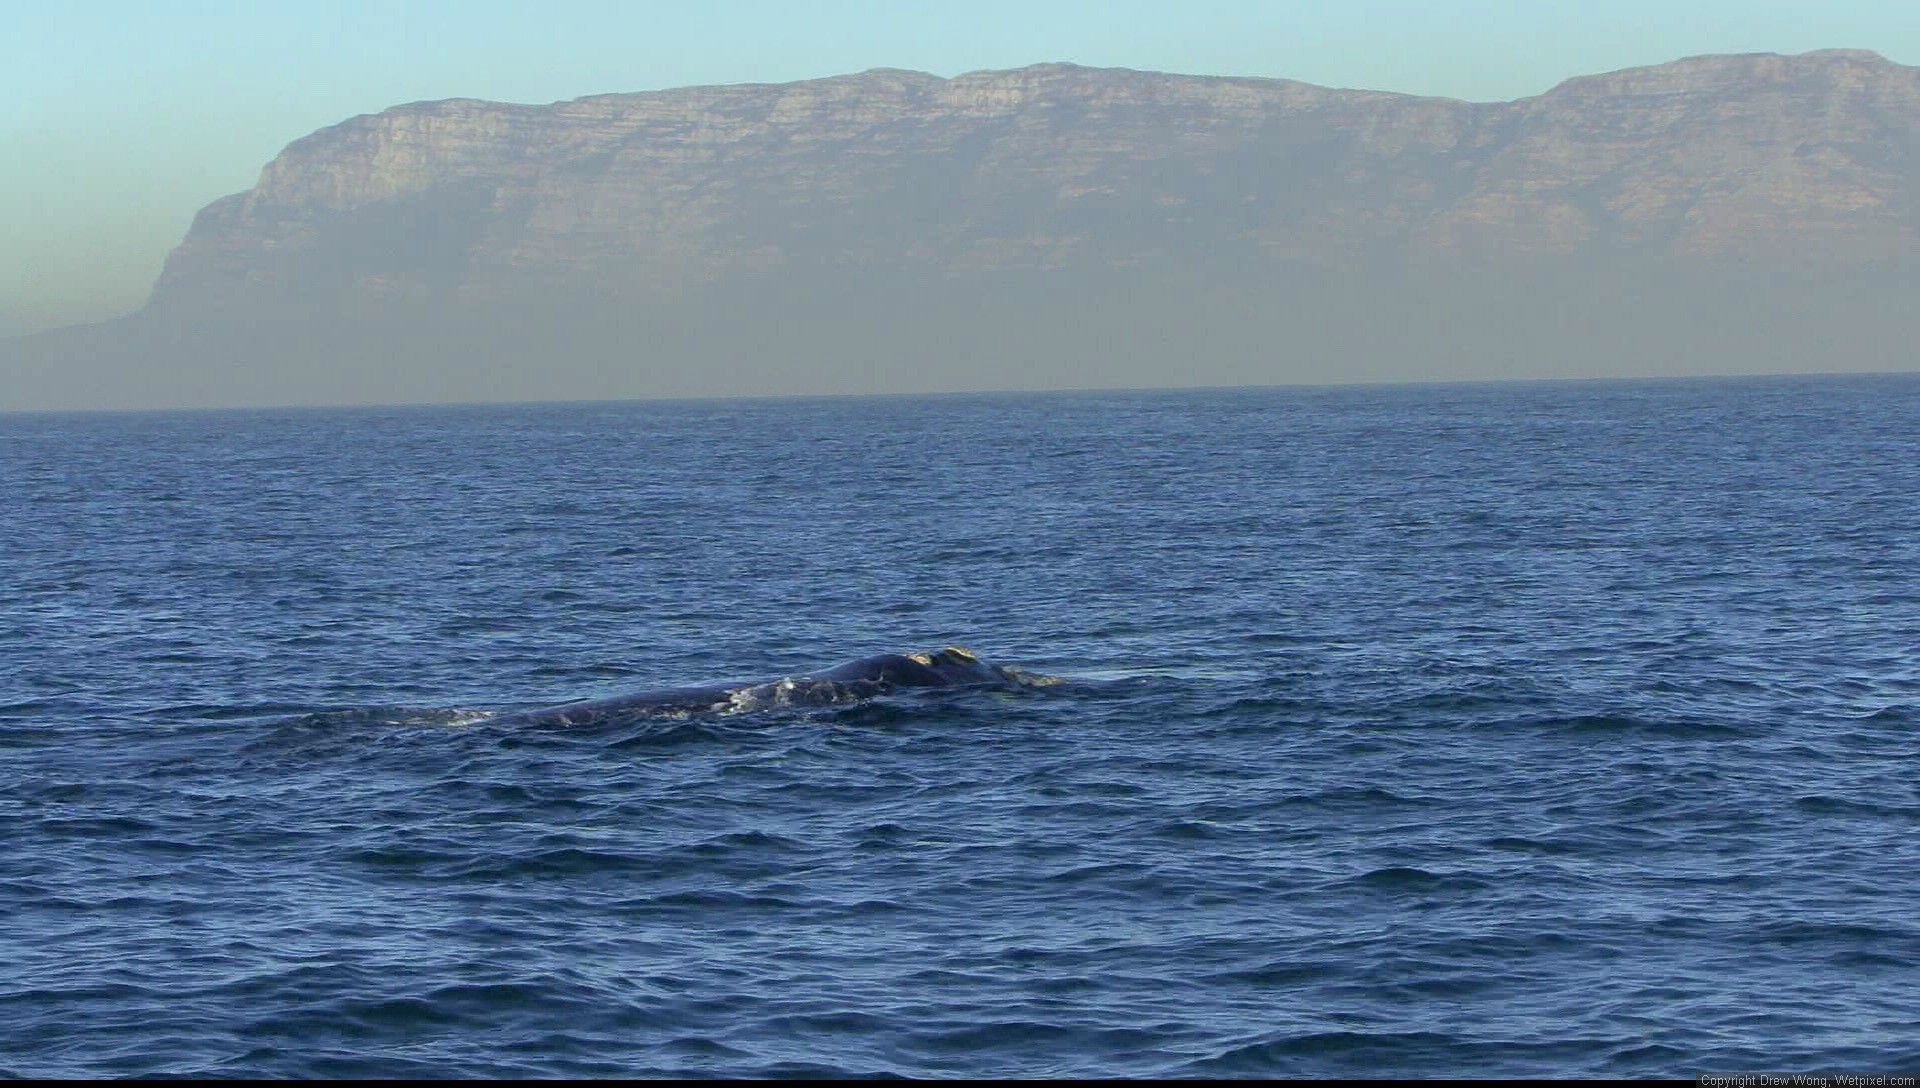
This capture frame from the V1 shows a bit of blocking on the water. It isn’t objectionable but is there
(click image for larger version)
The V1 is more expensive than the non-progressive FX7, which wasn’t tested but shooting in 60i on the V1 (which would be the same on the FX7), the picture is fine. The FX7 lacks the detailed image controls of the steroidal twin, the V1. Still at under $2800 street, it’s a good 3 sensor HDV camera.
As for the Endeavor, Amphibico dealt with previous issues from their older housings and came up with a solid housing for a good camera. However, as there is no such thing as perfection, there are some drawbacks and compromises to this housing. The Endeavor’s HD monitor is wonderful in resolution compared to the older SD monitors, but it is difficult to see in bright shallow conditions. Is it worth the dollar difference over the standard definition monitor? I think if you are shooting wide angle and use fixed focus and auto mode mostly, and only want the monitor for framing, then the SD monitor should suffice. The HD monitor is more flexible in use. You have higher resolution 16:9 which looks much sharper and focus is easier to see. That’s especially excellent for macro use. The display is crisper and easier to read. It looks as good as the camera’s own LCD, only not as bright.
That brings us back to the shallow water issue for the monitor. I can focus on things precisely at 16cm away from my eye in air and about 20cm in water(water magnification). In order to remove as much outside light as possible in bright conditions, I tried to put my face right as close as possible to the monitor, basically treating it as a large viewfinder. With the reflective nature of the glass, it still wasn’t to see. So the monitor hood/boot could perhaps be deeper to help cut out intrusive light in challenging conditions and perhaps a less reflective glass could be used as well.
Amphibico’s choice to forgo the viewfinder was mainly due to the different height of the viewfinders on FX7 and V1, which meant they’d have to make 2 rear bulkheads. So they built one bulkhead with a monitor back. While not the first to do so, they did compromise the use of a viewfinder.
![]()
The housing allows changing tape easily, without fully removing the camera out of the housing.
The Endeavor is pretty much 95% electronic, with just a dial for iris control and 15 buttons that actuate the corresponding functions on the housing. This means the learning curve to work the housing is higher. There are no manual controls that can act as a backup to the electronics as well. The right grip controls did act up 3 times in that I couldn’t actuate the wide control(top left), and the tele (top right) switched to wide. A simple power off and on solved the hiccup but therein lies the fragility of electronic housings. If the LANC board (Sony control system) goes down for whatever reason, it’s done for. It’s very much unlikely to happen, though and the one I was testing was the 1st prototype. I also could not replicate the problem on demand. I put it down to electronic gremlins and it never happened in water.
For someone accustomed to manual controls in forms of knobs for focus and zoom, it took some getting use to change focus and shutter settings by pressing buttons instead of dials. For instance, I couldn’t never get the manual focus controls to get the transition focus shot what I wanted. Specialty shots like transition focus (near subject to far subject or vice versa) were hard for this heavy fingered man. The ± buttons caused the focus jump too fast or slow, depending on where the zoom was. That said, how often do do you shoot those shots? Of the 1+ month, I only attempted that shot twice, when I had a Rhinopia Frondosa in the foreground and a Manta in the background. The manual focus system does lack finesse in general and I gave up trying. Another shot I’d use manual focus control is to track a very small subject while using a diopter due to the lack of DOF. With that, the manual control of the left grip will probably work well enough.
I will say that while the other controls were relatively easy to use, changing settings using the Menu Control Panel’s middle 2 buttons (acting as cursor or number up(-) and down(+)) was difficult as my fingers couldn’t quite comfortably reach the panel’s buttons comfortably and feeling for the right buttons (the middle 2) was slightly difficult.
![]()
Camera controls at the back of the housing within reach of the left thumb
The grip control system is comprehensive and complete. A few times, I had accidental power ons while hauling up the camera back onto the boat. The handler would accidentally touch the right grip trigger while storing it away, powering it up. Which is fine for the FX7 since Sony has a low power standby mode but on the V1, the low power mode consumes more because it remains active in standby mode being the pro model. So the monitor also stays operational. It’d be prudent to check that it stays switched off after you get back on the boat less you find you’re out of battery when you need it most. It would’ve happened to me but I always carry spare batteries on the boat while out at sea.
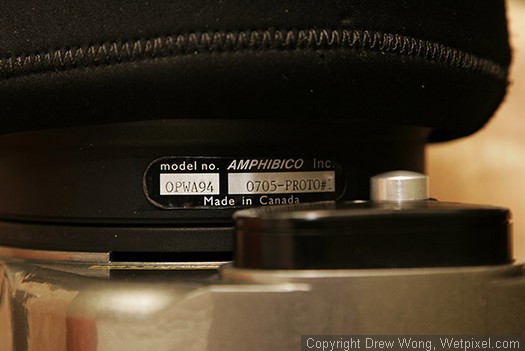
The 94° OPWA on the Endeavor. The big button is the release for the lens mount and must be pressed before the lens will move.
![]()
HD Monitor with Histogram On
The HD monitor allows crisper focus check (with the expanded focus feature) and is naturally 16:9 anamorphic. It lacks 4:3 markings (even though the menu on the monitor says it’s available) so for those who shoot SD broadcast will have to stick the markings on the glass yourselves.
In the end, the Endeavor is probably the most compact of the V1/FX7 housings. It’s well featured, handles very well and has few drawbacks, but none that are absolutely major save perhaps the ND filter control. The ND filter control is more crucial to those who shoot in p-scan like 24/25/30P as the strobic effect is more pronounced. In 50/60i, even though the frame rate is 25/29.97 fps, there is very little detrimental effect in using high shutter speeds to control exposure. So the lack of ND filter control will affect V1 users more than the FX7 users. Again, it is very important to know what kind of shooting you’ll be doing and choose the equipment that suits it.
Without having seen other housings for the camera, I cannot comment on how it compares to the others. My complaints of the electronic controls are more applicable to “specialty shots” which are not common underwater and the majority can be overcome with a little ingenuity and work. Testing while on the sardine run also overly emphasized the HD monitor problem in shallow water, since I was above 10m in water A LOT! (Amphibico is working on the hood which facilitates shallow water diving) So despite the very valid issues I’ve mentioned, this housing worked well for me in South Africa for nearly 2 months, despite taking a beating in the daily surf launches. I do recommend it as a good general shooters housing option, especially in the pricey configuration I tested.
If you are considering this housing, I suggest you buy it with the HD monitor and the 94° OPWA. Amphibico has different packages with different ports and monitor backs at various prices points, with SD monitors and a standard flat port as a basic package to the top of the line which I tested. I think the 94° OPWA is the choice lens to have for this housing. They used acrylic instead of glass for weight and cost reasons. The acrylic coating may be more fragile, however in my 22 dives with it, I had to take extra care not to touch it too often and never scratched it. Functionally, it’s versatile, able to shoot medium WA and good medium macro. The standard dome port is better for super macro (especially with an achromatic diopter) but loses about 25% coverage compared to the 94° and there’s the added positive buoyancy to deal with. If you are considering the housing with the dome port for budget reasons and want to shoot WA, plan to upgrade to the 94°. The standard port doesn’t have a good FOV. Unfortunately for those who are thinking of other housings, there aren’t many good alternatives that can match the versatility of the 94° in the $2800 price range (there are lenses which do for more money).

Frame capture at 1440x1080 shows why HDV can fit into a 25mbps stream
(click image for larger version)
Thanks to Joe Bendahan of Amphibico for his tremendous help in setting up this review.